Yeah I even tried a standard rasbian image to see if it was the SD card but all the logs on the HestiaPi image from the broken Pi stop at 13:35 , 5 August and I had power, as the LCD was still lit, but the Pi had no lights on it and as I say I couldn’t get it to boot even with the official power charger. If the transformer output is correct and the SD card seems ok and the Pi won’t power up from the power lead I can only hope that it can only be the Pi . I’ve got another coming now and I hope that when I get you PCB’s all will be well. I’ll keep you informed should anything suspicious happen again
Edit: I just booted the image from a raspberry pi 3 and it boots no problem.
Ok so I received the PCB’s and I’ve soldered all the components , flashed a fresh image (just in case anything was corrupted ), rechecked the DC Voltage coming out the transformer ( it’s exactly 5.14 Volts) and I’m now back up and running
fingers crossed it stays working !!!
anyway I’ve configured the Habpanel as per your instructions and I figured out that one of my errors in the log
2018-08-15 13:07:50.454 [WARN ] [.core.transform.TransformationHelper] - Cannot get service reference for transformation service of type MAP
2018-08-15 13:07:50.624 [WARN ] [b.core.events.EventPublisherDelegate] - given new state is NULL, couldn't post update for 'HeatingPin23'
was due to the MAP transformation not being being installed. I installed it via the Paper UI and all is working
Anyway I made the item
Number TempSetpoint "Temperature Setpoint Downstairs [%.1f °C]" { mqtt="<[mosquitto:hestiapidown/local/tempsetpoint:state:default],>[mosquitto:hestiapidown/local/settempsetpoint:state:*:default]"}
on my existing openhab setup but when I increase the temp by one step I get hundreds of log messages as it continuously receives and send an mqtt message.
2018-08-15 14:26:15.177 [vent.ItemStateChangedEvent] - TempSetpoint changed from 28 to 28.5
2018-08-15 14:26:15.543 [vent.ItemStateChangedEvent] - TempSetpoint changed from 28.5 to 28
2018-08-15 14:26:15.859 [vent.ItemStateChangedEvent] - TempSetpoint changed from 28 to 28.5
2018-08-15 14:26:16.320 [vent.ItemStateChangedEvent] - TempSetpoint changed from 28.5 to 28
2018-08-15 14:26:16.672 [vent.ItemStateChangedEvent] - TempSetpoint changed from 28 to 28.5
2018-08-15 14:26:17.291 [vent.ItemStateChangedEvent] - TempSetpoint changed from 28.5 to 28
2018-08-15 14:26:17.519 [vent.ItemStateChangedEvent] - TempSetpoint changed from 28 to 28.5
I think the loop is due to the item being updated on my existing setup and then receiving a mqtt message of what the temp was and then what it is due to the update from the existing setup this causes it to loop
I dont see anything wrong here. Maybe some other item or rule is reusing the same item or MQTT ID and causes a loop.
One test would be to remove the MQTT IDs from the item you pasted above and restart with
sudo reboot
(it is usually faster and safer than just restarting OpenHAB or simply waiting for the change to be picked up)
Then wait to confirm that there is no loop. If there is a loop, I would suspect the rules file.
Once confirmed, add only 1 MQTT ID (i.e only the outgoing >) and repeat.
Once confirmed too, repeat for the other MQTT.
Ok so I figured out what was wrong after alot of trial and error .
in the item I linked
I had it set up so that any state change would trigger the outbound message using the * option this created the loop as it would receive an updated state and then trigger the outbound mqtt message and thus a loop was formed .
I solved it by changing the outbound to command like this
I added autoupdate=“false” as well so it only updates the value when the hestiaPI state is changed not the Openhab GUI change just in case this creates a loop in inbound and outbound messages.
Anyway I now can control the heating turning on and off as well but the only way I could do this was to change the items in HestiaPi to listen for a comand on an inbound Mqtt from my existing setup like this
I don’t know if this is correct but it allows me turn it on and off from the Openhab and also from the HestiaPi.
the only problem i have now is that the state of switches on both is not updated when I turn the other on or off. I cant seem to work out how to do it this is my openhab item for the on off switch
nightmare !!?! The second pi or rather new has died something is definitely up! what could keep killing the raspberry pi do you thing the transformer is possibly putting out too high a voltage and over powering the Pi? The DC voltage is saying 5.08 volts now
I’ve checked the upstairs setup and the voltage is 5.02VDC . I think the highest the downstairs one went was 5.14 VDC
Is that the same with the LCD that was plugged in incorrectly?
The pi will officially accept anything from 4.75 up to 5.25V so the voltage that you get to read is ok.
I believe there are 2 ways to fry a pi. Either overvoltage (like 6V) or shorting some pins passing current through a GPIO or other sensitive pin. Double check for the second otherwise I’ll suspect the first.
About your mqtt issue… Answer the 2 questions:
Is the UI element not getting updated listening for incoming messages?
Does your action produce this exact message (monitor all mqtt messages to troubleshoot correctly)? Paste your replies here
This was the same HestiaPi that died last time and as you say this was the one I misaligned the LCD . The PCB and Pi are new but all other components are the same from the last dead Pi.
I’ve ordered another Pi and 5 HI-link 240VAC to 5VDC step down Power supply modules.
None of the pins are touching and I was really careful soldering the GPIO’s is there any other way I can check ?
Anyway, yeah the UI isn’t changing on the other device when I switch the heating on or off.
When I had the hestiaPi item sending outbound commands instead of listening for inbound commands it did update the UI in openhab , however now I have switched it to listening i can control it now but the UI isn’t updated to show the new state. I’m sure it’s something to do the 3rd Mqtt message
OpenHAB’s console log will tell you which messages got received so I would suggest monitoring this while you send a message to see if it was picked up. I am not sure but the mapping function may be case sensitive (ON may not be the same as on, so no match)
Ok so I think I have partly figured what the problem is, so when I turn the heating on or off from the openhab , the message is received on the HestiaPi and the state is indeed changed, however because the sitemap for the HestiaPI uses the item Heatingmode to control heatingpin23 via rules, I’m not sure updating the state of heatingpin23 will work in reverse and update the item Heatingmode and therefore the UI . I thought about adding the listening inbound message for heatingstate to the item heatingmode but I believe this would cause a loop again as it would trigger the rules to control the item heatingpin23 . Ill have a think about it a little more and see if I can solve the problem . I’ve made massive progress so far just a few hurdles left and I think I’ll have it just the way I need it .
I’ve had a little think about the killer Pi situation and I hoping its as simple as the step down power supply module being faulty but could it be the LCD ? I mean the LCD works but could it kill the PI via the GPIOs if something wasnt right could I have damaged it when I originally misaligned it ? I’m not sure what else it could be now it can only be the transformer or the LCD
Hmmm… Why/How is the original UI working?
What is different?
As a solution I would suggest adding a rule listening to changes of the actual item and updating the UI item. Have a go with that.
It is possible, but I cannot know without measurements. Do you have a fairly good Amp meter with a miliAmp scale or an external PSU with miliAmp?
I think if I write down what is happening, it might help us figure out whats happening so originally before I edited any items I had 2 outbound command messages coming from My openhab to the Hestia Pi and one inbound message for the state . On the hestia Pi I had 2 outbound command messages and one inbound State message so both exactly the same .
from openhab to HestiaPI
UI pressed on openhab outbound ON/OFF command sent via mqtt to HestiaPI state change on HestiaPI but nothing happens as its not a command HestiaPi UI has no change
I believe that the UI state wasn’t changed because as I say the sitemap item is heatingMode and this updates heatingpin23 via rules, in reverse HeatingMode’s state is never changed should heatingPin23 receive a command .
from HestiaPi to openhab
UI pressed on HestiaPI (habpanel/BasicUI) outbound ON/OFF command sent via mqtt to openhab state change on Openhab Item UI changed to OFF/ON
I believe that the UI changed because its the same item that sends and receives messages and the same item linked in the sitemap.
now when I edit HestiaPi’s Heatingpin23 item to listen for inbound commands for ON/OFF really I should have an outbound message that sends a change in state but this causes a loop as I’ll show
from openhab to HestiaPi
UI pressed on Openhab outbound ON/OFF message sent via mqtt to HestiaPi Command received on HestiaPi, item Heatingpin23 and Heating relay activates as item has chnaged state this causes the state outbound message to send to openhab state message received on openhab and item state is updated this causes the outbound command message to trigger and ON/OFF is sent to HestiaPI continous loop created
currently, so I don’t cause the relays to fail I have HestiaPi item listening for inbound commands on heatingPin23 and no outbound message sent until I can work out how to do this without causing a loop
but as I say I can control the heating from the HestiaPi itself via the Habpanel/BasicUI or the the openhab app on my phone. What I want it to do is If an ON/OFF command is sent to to the HestiaPi it updates openhab’s ON/OFF switch and the Habpanel item shows ON/OFF as well . Also if I press ON/OFF on HestiaPi it updates the openhab to show the new ON/OFF state as well.
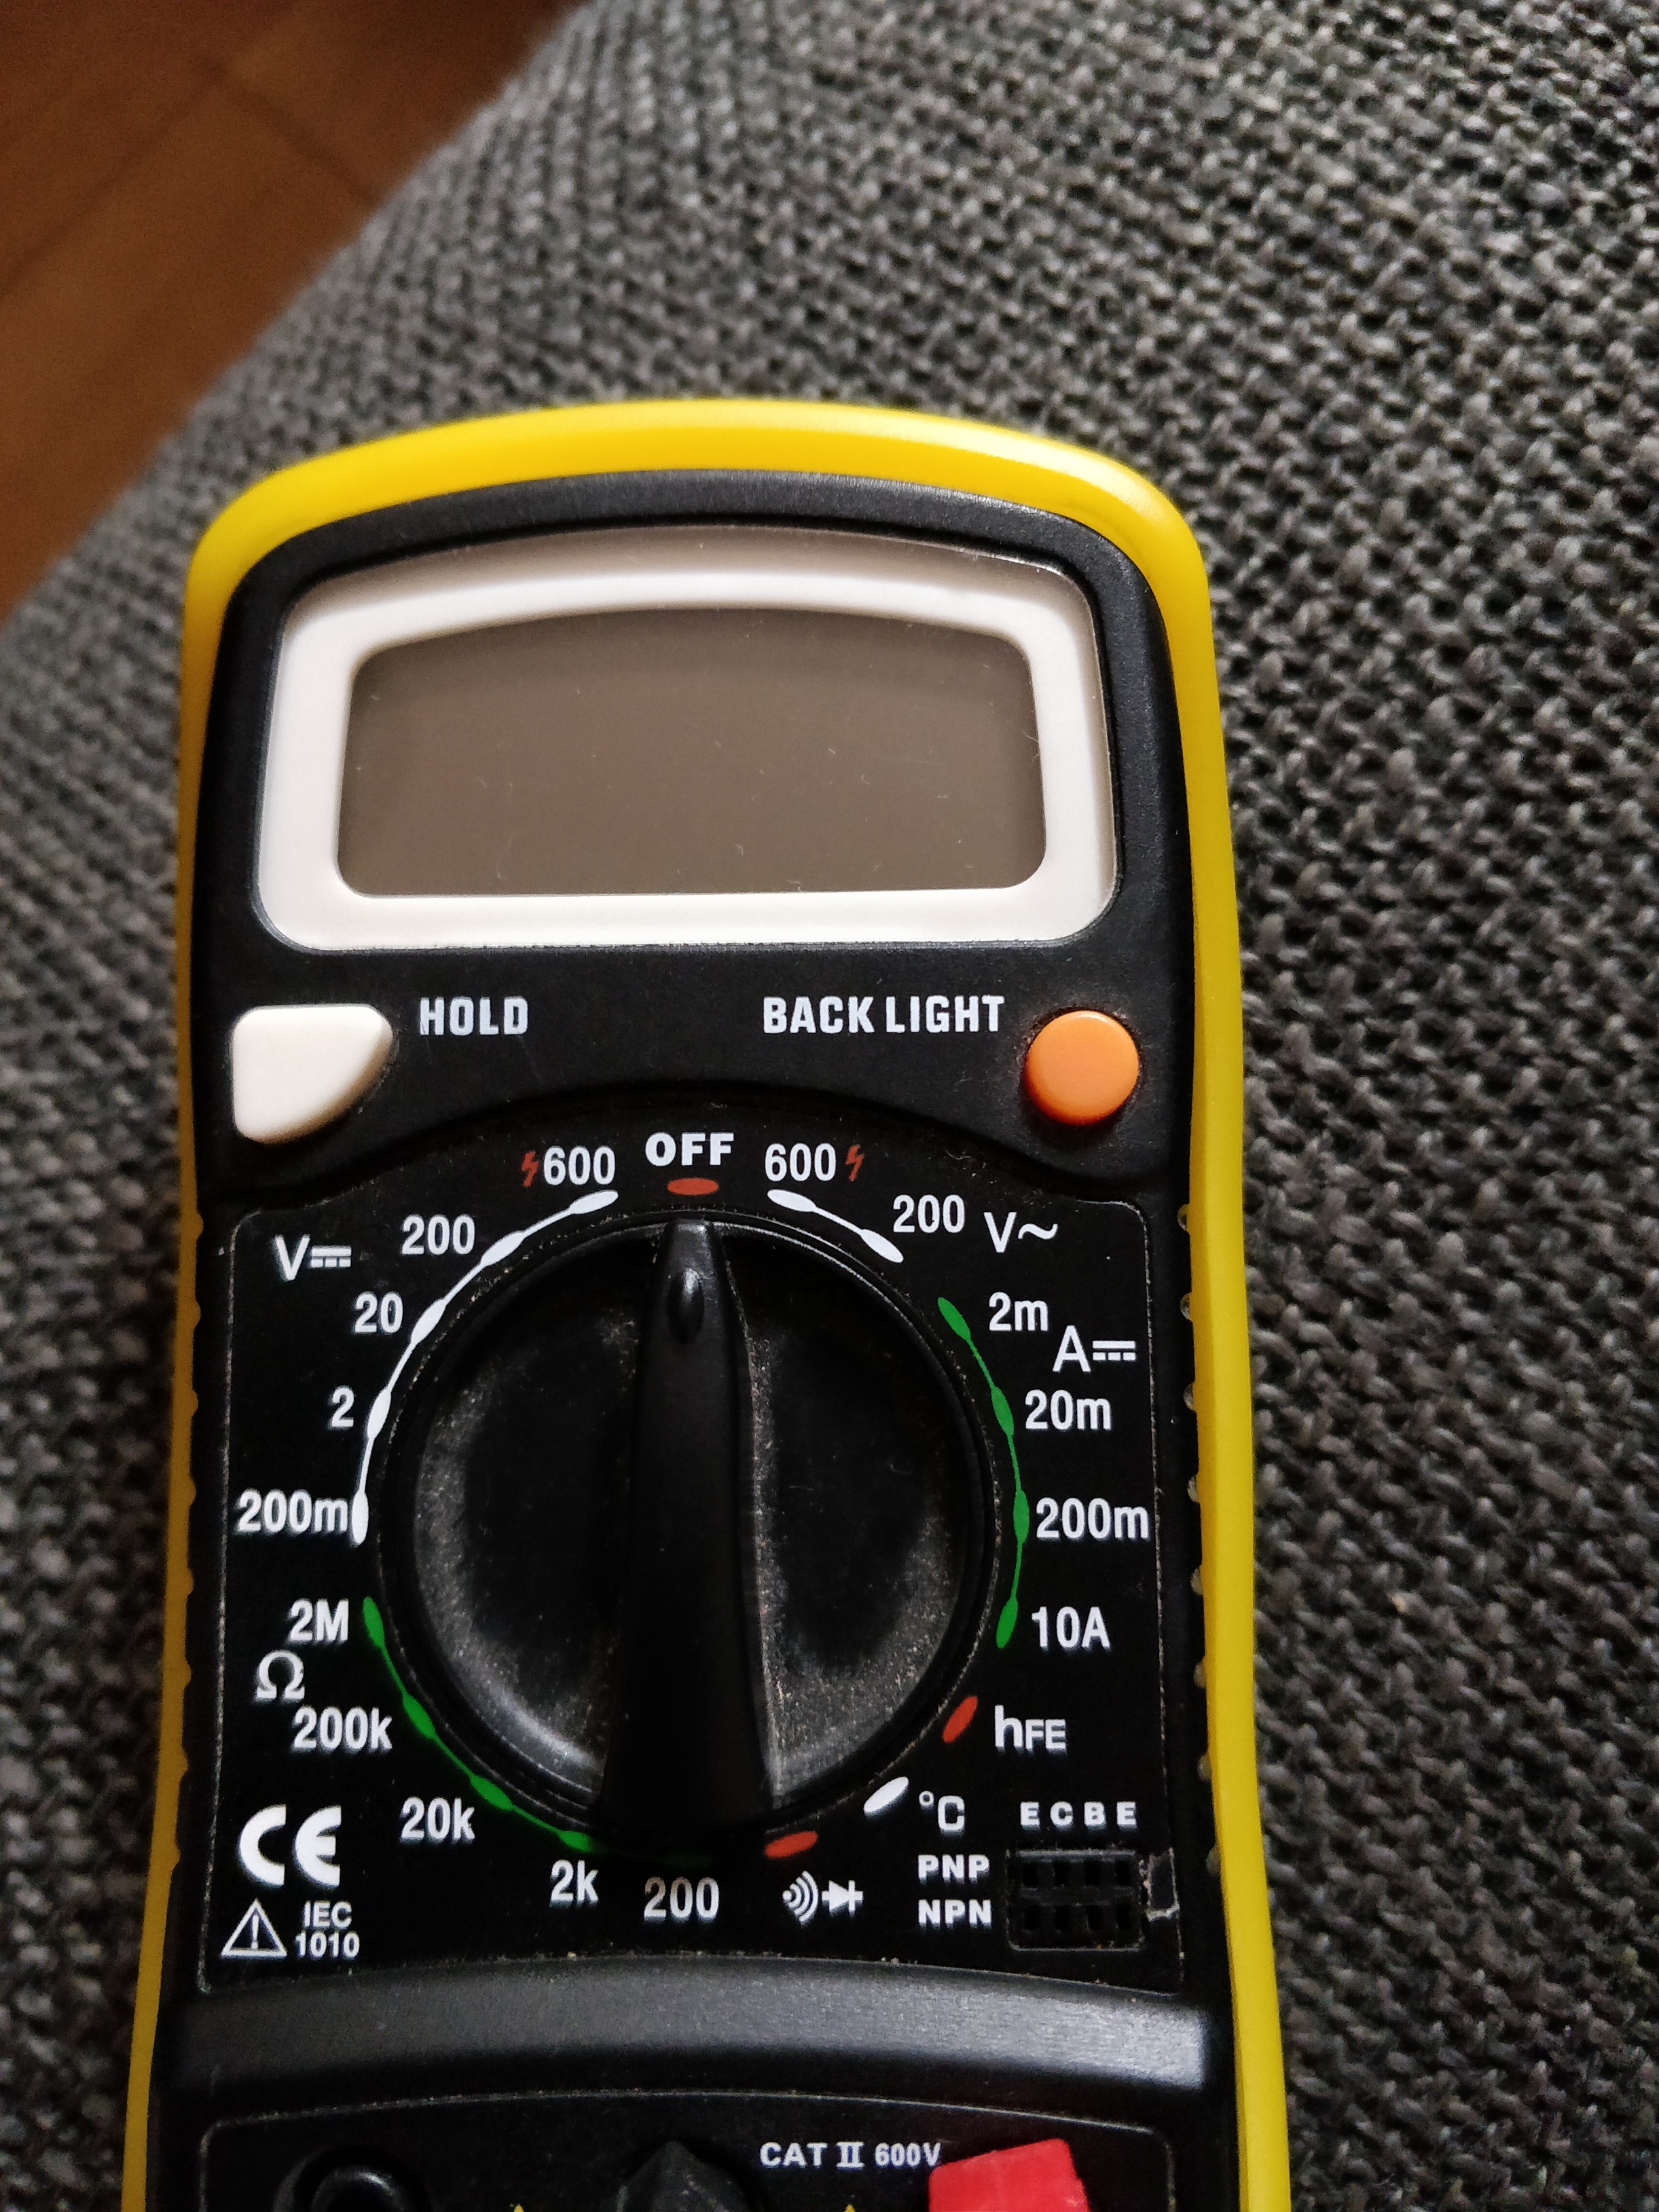
Regarding an amp meter I have a multi meter but how good it is for what measurements you require I not sure, is this any Good?
We haven’t seen the processing of rules affects HestiaPi’s speed so I would say adding one or two rules to be preferred if that solves the problem even if it’s not the most elegant way as indeed mqtt debugging is not the most fan for novice users (we are not that experienced either).
The multimeter looks good. If you can wire it in between the power supply pin for the LCD it will be helpful. Do it first for the good one so that you get a reference and then see the ‘maybe’ faulty LCD if you get more than 5% higher current…
So I called a friend who is a bit of an expert in electronics and he couldn’t diagnose what could be wrong. So I’ve decided to do a test although not very scientific I’ve put the LCD that might be the problem on the upstairs set up which has had no problems . If that Pi dies I know it’s the LCD . Tomorrow I get the new Pi and the new step down modules . I’ll solder it all up and use the Good LCD that way if it dies I’m lost .
Anyway I had some problem with the UPstairs crashing when I pressed the UI and I think it’s down to me messing with it so I’ve put a fresh image on it now and kept it as is! so no modifications. I’m hoping that if both Pi’s last a month with no hiccups or dead Pi’s I’ll start to ticker with it again.
Hopefully that will give yourself a break as well, from me pestering you for help.
Thanks again for all your help hopefully I’ll be messaging you again in a month’s time with good news that everything is ok
unfortunately the UI crash I saw on the Upstairs HestiaPi is hardware related when I turn the heating ON it works whenever I turn it off the heating the relay doesn’t click and the screen freezes and the pi locks up unless I hard reboot. I tried to desolder the relays and the step down module but I ended up stripping the tracks again. Unfortunately I have to call it a day as both setups are dead now and I seem to be unsuccessful in creating my thermostats . I still think its a brilliant project and If I a bit more time and money I would continue to push through these hardware hiccups. I’m starting to suspect its my soldering ability !!
Anyway thanks again for sticking with with through all this really appreciated the support
Unfortunately I only have enough part to make one working hestiaPi and I’m worried about buying more parts as I have done and it keeps breaking .
No the PCBs I got were the same as the originals diodes and transistors above the relays. I think when I misaligned the LCD on( both HestiaPis, although one longer than the other ) I damaged more components than I thought I did i.e the step down module.
I’m currently 2 Pi’s, 3 PCB’s 2 step down modules and possibly more in the hole at the moment.
So I’m back up and running with 2 stable (for 10 days now ) HestiaPi’s, thanks to @HestiaPi for encouraging me not to give up. I think I cant emphasize enough that mis-aligning the LCD can cause major problem and 2 new LCD’s and updated PCB’s have solved my Problems with the Pi zeros dying and the UI Crashes.
Back now to trying to solve the controlling of the HestiaPi’s via mqtt from my existing setup .

 The second pi or rather new has died something is definitely up! what could keep killing the raspberry pi do you thing the transformer is possibly putting out too high a voltage and over powering the Pi? The DC voltage is saying 5.08 volts now
 situation and I hoping its as simple as the step down power supply module being faulty but could it be the LCD ? I mean the LCD works but could it kill the PI via the GPIOs if something wasnt right could I have damaged it when I originally misaligned it ? I’m not sure what else it could be now it can only be the transformer or the LCD