Customised build

First off thank you for HestiaPI, the forum, information and the 9.2 pi image.

I was looking for a solution to remote access my garden office heater (I am disabled and some days
my legs will not let me go out to my office so the heating would need turnd down so I dont waste money heating it up for nothing,
When I do go out there and its cold outside its not much warmer inside my office/workshop.
Remote heating would be a life saver, well it would save me freezing until the office warmed up a bit.)
After quite a few different python programs and scripts and with trial and error using snippets of python code to control relays and reading temps from ds18b20s dht22s etc I stumbled and found the HestiaPI website.

30 mins later the 9.2 img was burned to SD card and sitting in a spare pi-0w attached to the breadboard with
a dht22, and relay. (thanks to win10 and hotspot I was logged in and away I went.)

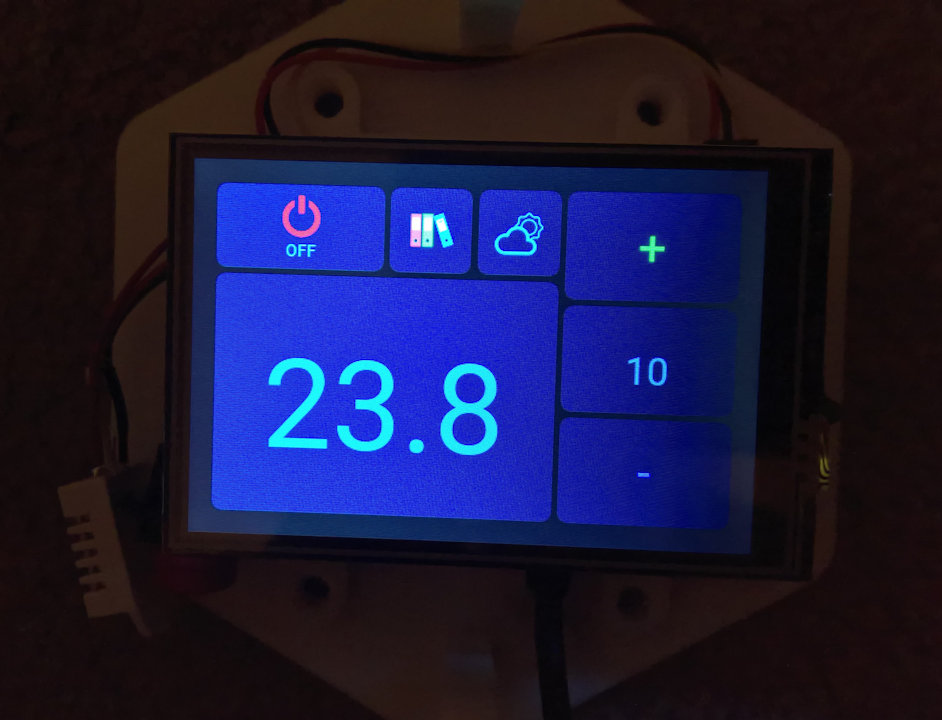
Next day and happy with what I could see I decided to set about constructing a version that would just run 1 heating relay.
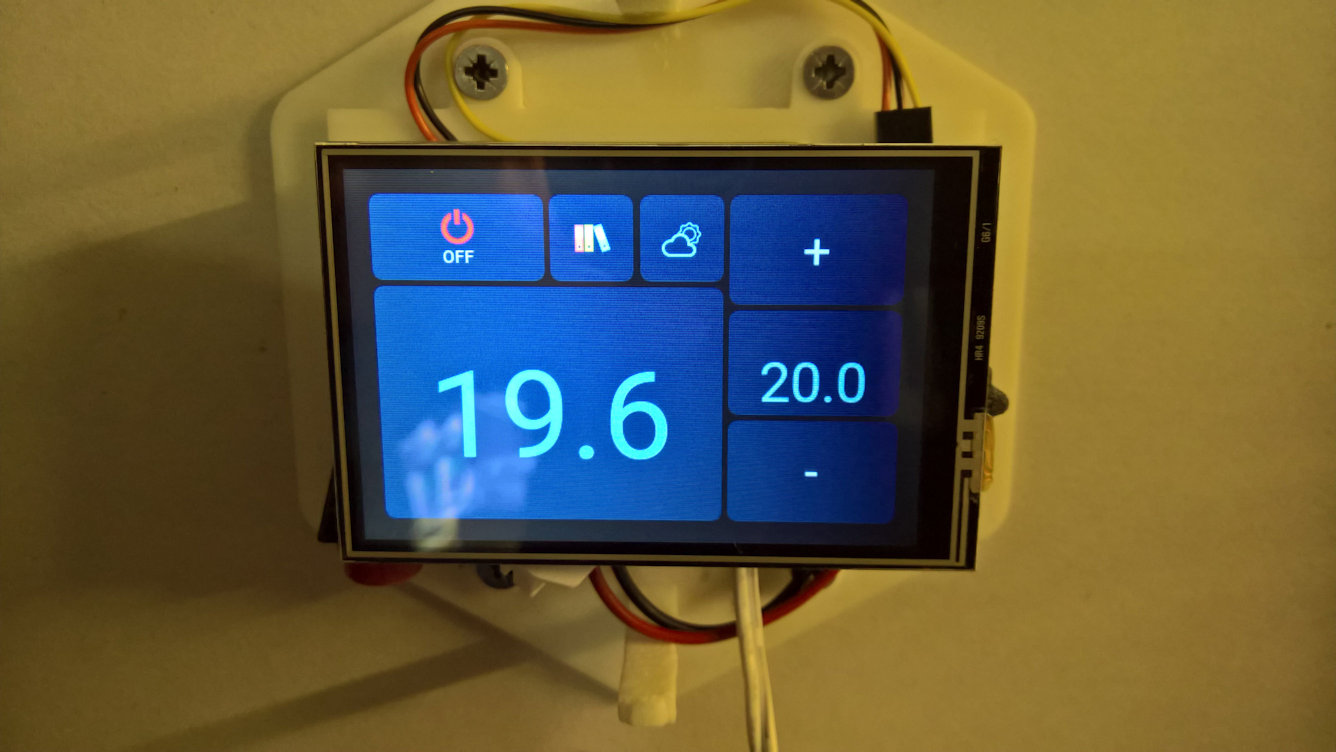
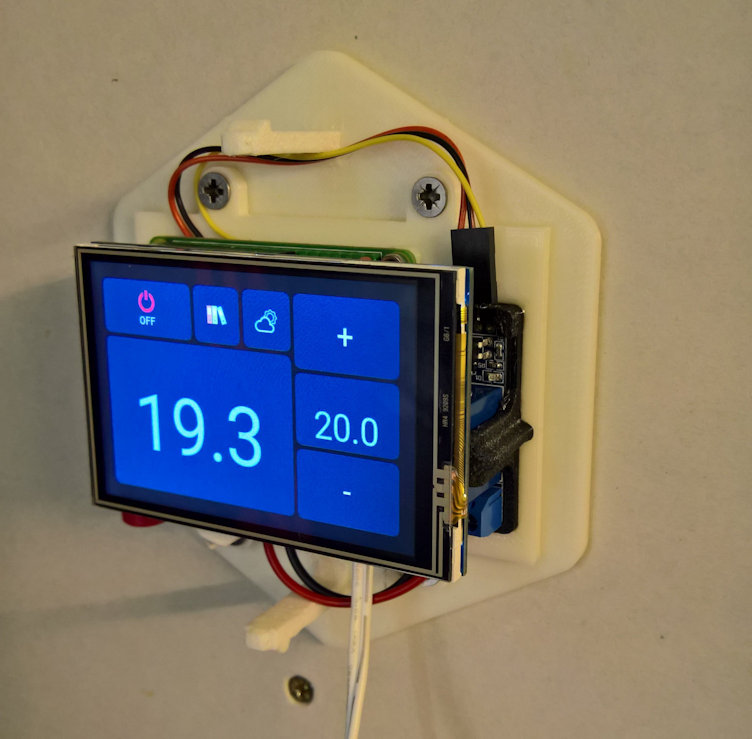
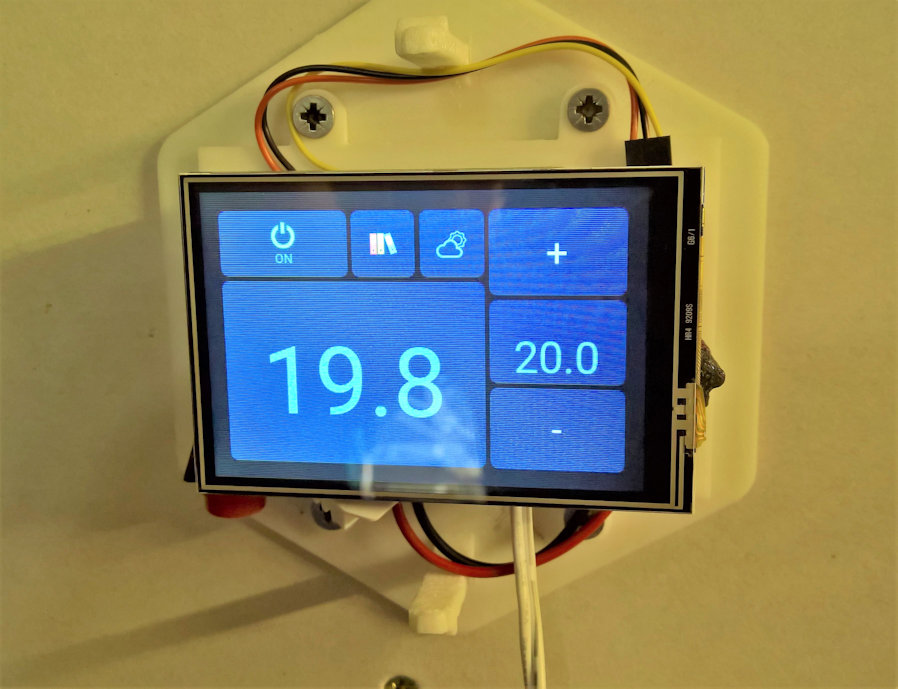
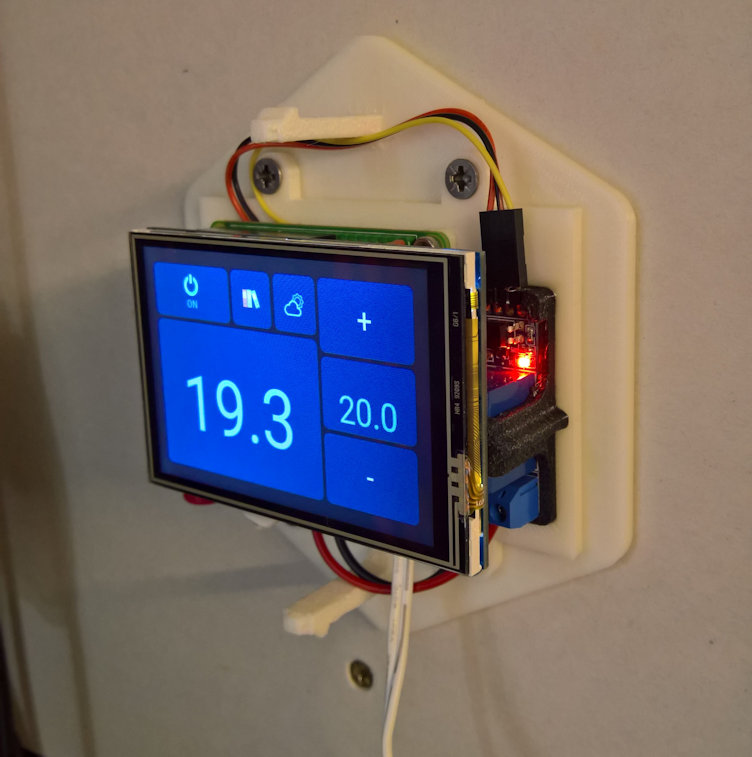
day 2 I was very happy with HestiaPi and the changes I I made I though it was time to set about and go 3d print the hex case (with a couple of mods to mount the pi-0w with m3 hex head bolts and to hold a single relay pcb and dht22) I was happy with the way the it all looked, but the hard wiring side of it is ugly (the case does hide it tho) :frowning:

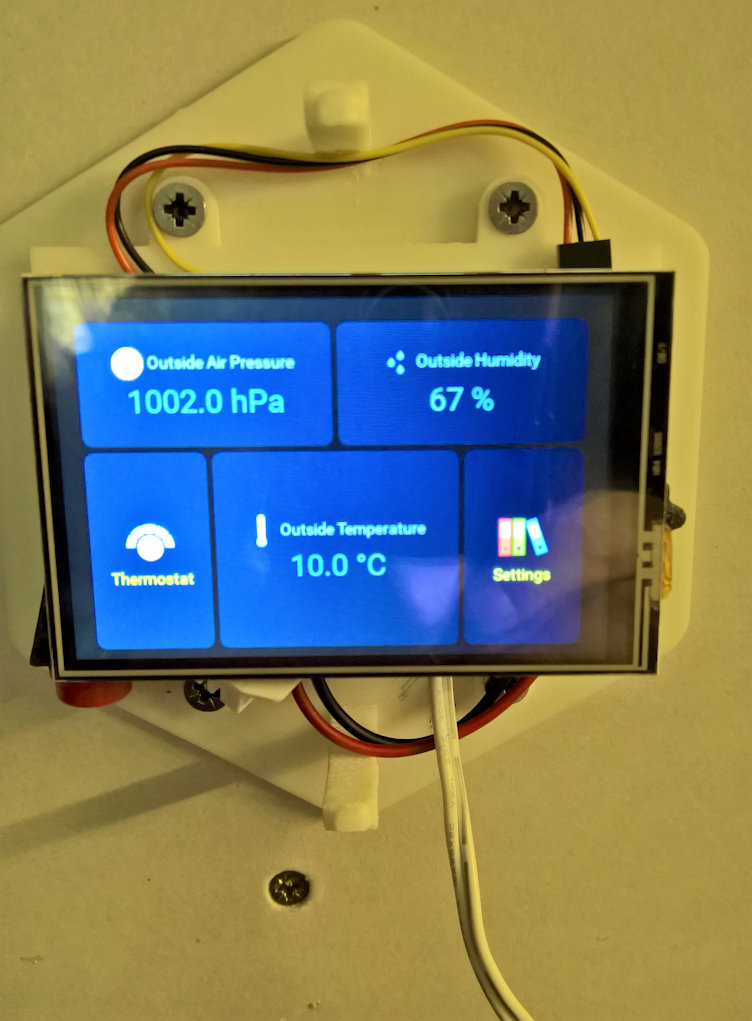
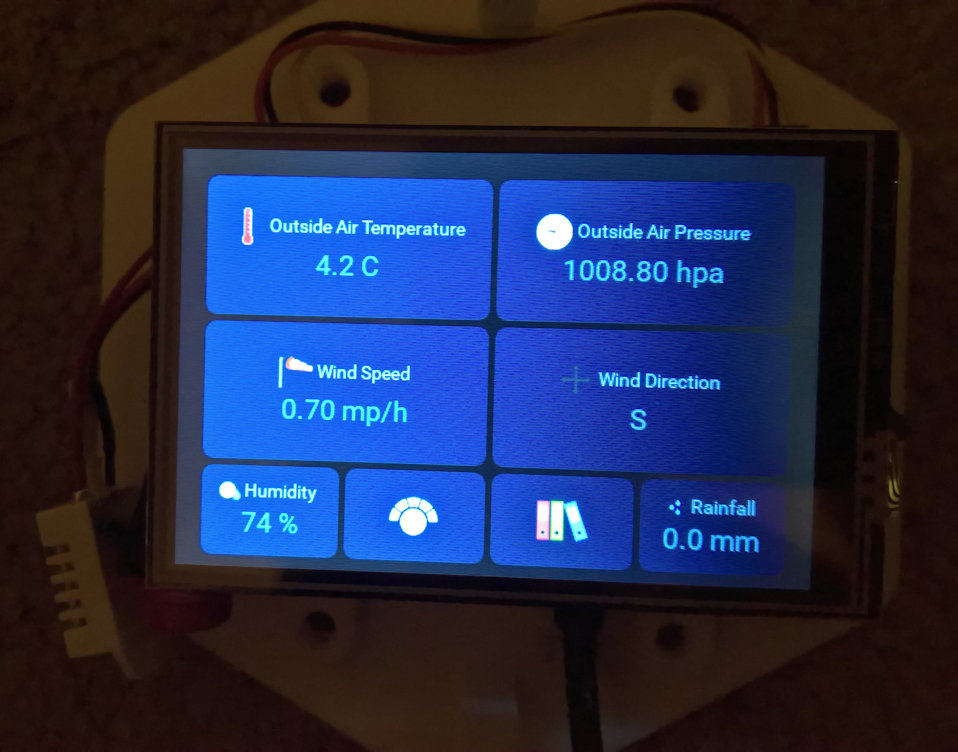
A couple of days later I set about changing some of the Openhab settings, removing hot water, air-con and scheduling, adding in local weather info from yahoo weather (others are available :slight_smile: and because the lcd has to stay lighten up I thought instead of it going blank ( after a couple of hours I still have not found how to stop the screen blanking) why not just display some weather info as the main page with fancy images (this is W.I.P) and as I have a small weather station and will at some point get that to supply the weather instead of yahoo weather (this is further down the line of my hopenhab learning / note taking with explinations curve).

Now a week later and it is working sweet I thought about the next step of tidying up the wiring and the easiest way would be with the pcb and mounted components so… It is years since I designed and etched a pcb so pass on that idea, on the site I see an option to purchase the bare bones of the system.

How much ÂŁÂŁÂŁ would it cost for the parts and pcb to make a single chan relay version.
your pcb with onboard 5v psu and one relay/diode/pnp/resistor set would look a lot better than my web of wires.

If possible I would like a price from you for :-
1 x pcb
1 x HLK-PM01
1 x OMRON PCB Power Relay – G5LE heating relay
1 x PNP; package SOT-23 [SMD]; part # 2N2222
1 x 1.2kO Resistor
1 x Rectifier Diode

I can solder as I used to repair computer pcb`s and other electronic devices for a living so do not require the smt parts
pre soldered to the board.

Maybe a single chan room heating thermostat that will control a small heater could be an option to add to the HestiaPi line of products. A reconfig of the pcb to add a couple of connectors.
Earth connector (UK mains - heating requirement), another Neutral connector located where the h/w connector is and just linked direct to the input neutral connector, removal of the h/w relay and maybe add a couple of led status lights ??

Anyway enough rambling on from me and a BIG THANKYOU to everyone involved with HestiaPi

Sirhc

ps I have a couple of pictures I will post shortly.

Hello Chris,
we now get the PCBs presoldered with the SMDs so I cannot “remove” these I am afraid.
We can offer the kit without the LCD and the BME sensor at 45EUR with registered shipping to UK included.
The rest of the parts (relay and headers) you left out really add up to some pennies as we buy in bulk.
I sent you a coupon for this offer so you can add it in checkout.
Let me know if you need anything else in terms of customisation although you seem to know your way around here :wink:

Just ordered the Kit Thanks.

Here are a few pictures of My build

The wall mounted plate with 3.3v relay activated on gpio 23. Hardware soft reset button (big red one on the left) wired to gpio 21 and ground and when pressed it runs a reboot script “sudo shutdown -r now” safely rebooting the zero w (unlike the rst board pins that hard reset the pi) and the dht22 reading the temp

1 picture limit just blew this post out of the water after 20 mins of typing and uploading…

Screen showing the relay off ( the power logo is red )

from the side showing the relay led is off.

Showing the relay is on and the power logo is green.

@gwmngilfen can we do something about this?

from the side showing the relay led on

the settings page showing the settings. (not finished yet)

and last picture showing the weather data ( just yahoo weather until I get mqtt speaking to my weather station)

The reason I have weather setup is because I turned the screen blanking off, mainly because the screen back light stays on all the time so I thought I might as well use it to show something usefull.

This setup is a customized version of the 9.2 image that only runs a 400w heater so humidity, air-con etc has all been removed.

The one picture limit is it a limit of the board or just the way its configured for new users, If its just for new users maybe have the bot say there are image upload limits for new users just after or during signup to the forum…

Sorry for the slow reply.

I’ll investigate this when I have a moment, but I’d at least expect it not to destroy the post in progress - it should just fail to post and return you to the editor. Thanks for the heads-up @Sirhc!

updated images of the final version.

*** Main thermostat screen ***
(Red power logo = Off, Green power logo = On), button to open weather info page and one for settings page.

*** Settings page ***
Shows boost timer + adjustment of boost timer, unit ip info and buttons to open thermostat page and weather page.

*** Weather info page ***
this shows My local weather data from my garden weather station, Rain fall, wind speed, direction etc and buttons that open thermostat page and settings page

so access to the other different pages are available from each screen so no jumping backwards and forwards to get to the correct screen.

1 Like

The hardest part was sorting the weather data from Pywws to Openhab. 3 days of reading and head banging but finaly it worked, just not with json string and data splitting. Thanks again to HestiaPi and helpers for the base image that got the ball rolling.

1 Like

Chris, your work is inspiring! Really proud we have you here!

I like it!! I think I see my next addon to enable. I’m glad you found this page! Thanks for sharing!

@Sirhc, you have just built the project I was going to start. My plan was single heat control with a Pi 3 (I have a spare) custom enclosure and just stay with the weather feed from the web. could you give me some pointers as to modifying the UI and adding the weather data (I am a complete noob to this but have been playing with simple Pi stuff for a while)
or just send me the image if you like :wink:

Most of my project involved reading, well about 90% was reading and trying to work out if what I had just read was from Openhab v1 or from v2 and if it was v1 was it still relevant in v2. I am no coder / programmer My first language is English and I even struggle with that at times, where wear and Openhab is just as bad, It`s neither Basic or python but seems to be a bit of both.

I am a tinkerer ( I can take something and twiddle/hack/break it and try to make it do something else, right now I am abusing my 3D printer by taking the print head off and putting a motor and cnc bits in its place too cut/ cnc mill single sided pcbs),

I started off by looking at the code in Hestiapi and trying to figure out what it done ( the folder structure on HestiaPi is well different from other versions of openhab, ie openhabain etc but once you start to find your way round the files that you can change/add then it becomes a LOT easier).

Adding another sitemap with my weather data (I used yahoo weather first so I could learn how to change things ** lots of reading the docs and forums at Openhab** looking for others sitemaps etc) then once the setup is happy just tweak the graphics via the web interface

It will all fall into place. If you have a small grasp of python from tinkering with a Pi then you should be on the road to getting to grips with HestiaPi and Openhab 2.

I would send you an Image but I have an annoying bug that crashes the pi, so at the moment it is on the back shelf as other projects are on the go, I will get round to looking back into it later in the year when it starts to cool down and I need the setup to work as is should. Also just using the image you would not learn about changes that might need to be made.

I can I think maybe attach a couple of files that I have changed and added so you could compare them to the original files and that way it`s giving you a start.

Thanks for the encouraging words Chris, I’ve been playing with it over the last couple of nights and I think i’m starting to grasp some (read “a tiny part”) of the system. having a fight with the WiFi on it at the moment so I need to fix that first.