Thanks to helgew, I now have HestiaPis. I found openHAB extremely disappointing and unusable, so I immediately set forward porting my old FreeAbode code (which was written as a firmware replacement for the Nest) to the HestiaPi.
The new gpio_hvac driver (to control the HVAC system) seems to be fully functional. I’m testing on the latest RaspiOS (bullseye), but I expect it will work on any OS that has the libgpiod library available.
I also wrote a bme280 driver for reading the temperature/humidity sensor (no pressure yet, as FreeAbode didn’t support that previously and I was just porting for now) using the official BME280 code, and it mostly works, but seems to have some initialisation issues (fixed by running the bme280.py script included on the official HestiaPi OS image).
Next up I’m going to try to sort out the LCD/touchscreen. I don’t really want to run the vendor’s install script - much rather install a package or two and configure by hand. Hopefully it won’t be as big of a nightmare as I’m reading on Amazon reviews for it.
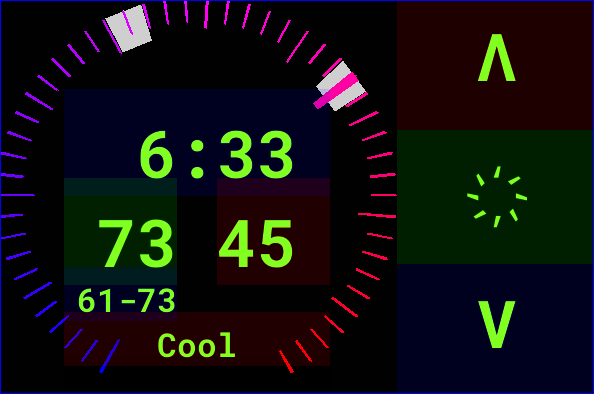
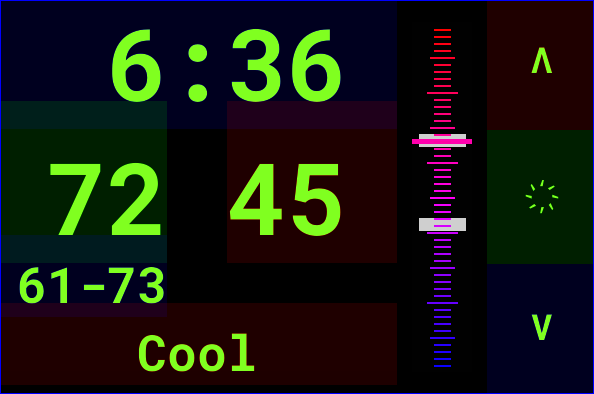
The Nest had a nice pushable-knob control, no touchscreen, and no X11, so I’m not sure yet whether I’ll adapt my existing wallknob client or write a new one from scratch.
Finally, I’ll want to revamp the API. Right now, it’s using protobuf over ZeroMQ, with some JSON<->protobuf conversion stuff. I’m happy with JSON and protobuf, but ZeroMQ has been a real nuisance and very unreliable, so I definitely want to change it out. I’m not a big MQTT fan either (though I won’t object if someone else wants to contribute that). Might just go with REST or something, but that seems annoying for security/encryption. TBD
Since this isn’t Java bloatware, I expect even when feature-complete, it will run much smoother than openHAB. I’m aiming for booting to a fully usable state in a few seconds.
Next up I’m going to try to sort out the LCD/touchscreen. I don’t really want to run the vendor’s install script - much rather install a package or two and configure by hand.
There is an LCD wiki that links to a GitHub with different LCD installation scripts. All the script does is install a package or two, compile some other codes not available as packages, and do some configuration… not sure why you would want to do all this “manually.”
Actually, the BME280 driver wasn’t updating temperature/humidity at all, just repeating what it last read >_<
Apparently Linux is picky about write(2) being called with the address+data together in a single syscall. And the BME280 example code confused me by (a bug) conflating milliseconds with microseconds. With those two issues fixed, the FreeAbode BME280 driver is fully functional now.
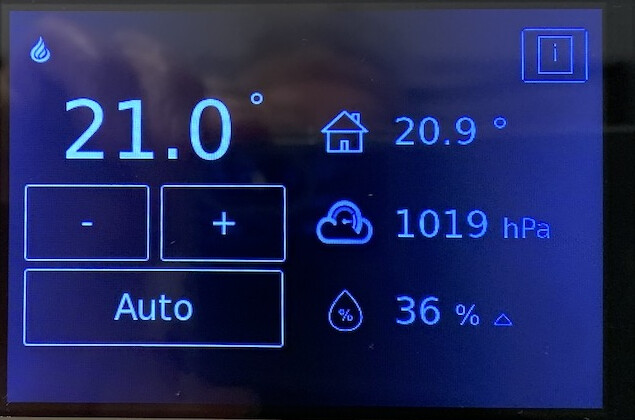
At this point, I now have a fully functional thermostat using under 50 MB RAM and mostly idle (1.3% CPU use for the wallknob GUI - I guess updating the clock?)