Well I figured I’d post a quick update. Here is a list of the steps I followed to etch my own board…
You will need:
(1) 100 MM x 70 MM blank PCB
Etching Solution
Laser Printer
An Old Magazine
Masking Tape
Clothes Iron
Paper Towel
Fine grit wet sand paper
First, download the Gerber Files found on this website. Download any Gerber View program you feel comfortable using. I run Linux so my go to was Gerbv. It will allow you to view and print Gerber files. In order to get the image transfer correct, you will need to mirror the bottom view files. Once you get your files correct, take a page out of an old magazine. Load this into your laser printer. Print your Gerber files on the magazine paper. Next carefully cut out your layout.
Next. you will need to prep your board. To do this wipe down the board with acetone or Goof Off. Then take your fine grit sand paper and sand down the entire surface of the board. It’s important to go over the board well. After you are finished sanding the board, wipe it down again with acetone or Goof Off.
It’s important to NOT touch the clean board. Finger prints will hinder the transfer of toner to the board. Next you will want to carefully line up the magazine cutout onto the board. The trick to lining this thing up on the board is to line up the common corners of the print out with the toner facing the board. Next carefully tape the cutouts to the board using your masking tape.
Next you will want to heat up your hot iron. Set the setting to cotton. I did this on a cutting board. I placed paper towels down on the cutting board and wrapped the board with a layer of two paper towels. Next I applied the hot iron onto the board. I pressed very firmly on the board and allowed it to heat the board up for about 5 minutes. You should not leave the iron still for the entire time and remember to rotate the board. Iron both sides good.
Next you will want to place the board in a water bath. I used warm water. This allows the magazine to soften so you can peel it off of the board without removing the toner from the board.
Prep your etching solution as per directions. I used a homemade concoction of hydrochloric acid and hydrogen peroxide. It worked very well. Don’t forget your PPE! Use rubber gloves. Be very careful when handling acid. Remember, add acid to the solution not the other way around. Be aware of the dangers of etching solution and the pollution. Be responsible and do not put this stuff down the drain. It is hazardous waste! One handy tool to have here is a plastic kitchen fork (one you will keep for only this purpose!) .
Place the solution into a plastic tub. I used one slightly larger than the board yet deep enough to completely cover the entire board without splashing. Next you will carefully place the board into the etching solution. This is where the fork comes in handy. Use the fork to carefully maneuver the board to work the solution over the board. The homemade etch takes about 20 minutes and will put off chlorine gas the first time you use it. So you’ll want to do this outside or with proper ventilation. When all you have left is the toner traces on the board you are done. After this, you will need to carefully rinse off the board. Make sure you drain as much as possible off of the board prior to rinsing. The resulting etching solution is toxic and you really need to minimize any going down the drain.
Don’t forget to save your etching solution. I stored mine in an old hydrogen peroxide container. Label everything properly and put it out of childrens’ reach. The stuff is toxic.
Lesson learned… I could have had the board etched and drilled for way less than what I paid for everything. Their are many etching warehouses out there. The nice part is the pollution is contained to their facility. However, if you need a board right away, this method is good.
I will post something about the process of fitting all of the components to the board here soon. I learned a few things there too. One thing to be aware of is to FOLLOW the Drill Hole layer on the drawing… I drilled areas I did not need to and ended up redoing my board. Also, make certain you order the correct components. Some components mount on top of the board whereas others are push through type components.
And here is the final board!
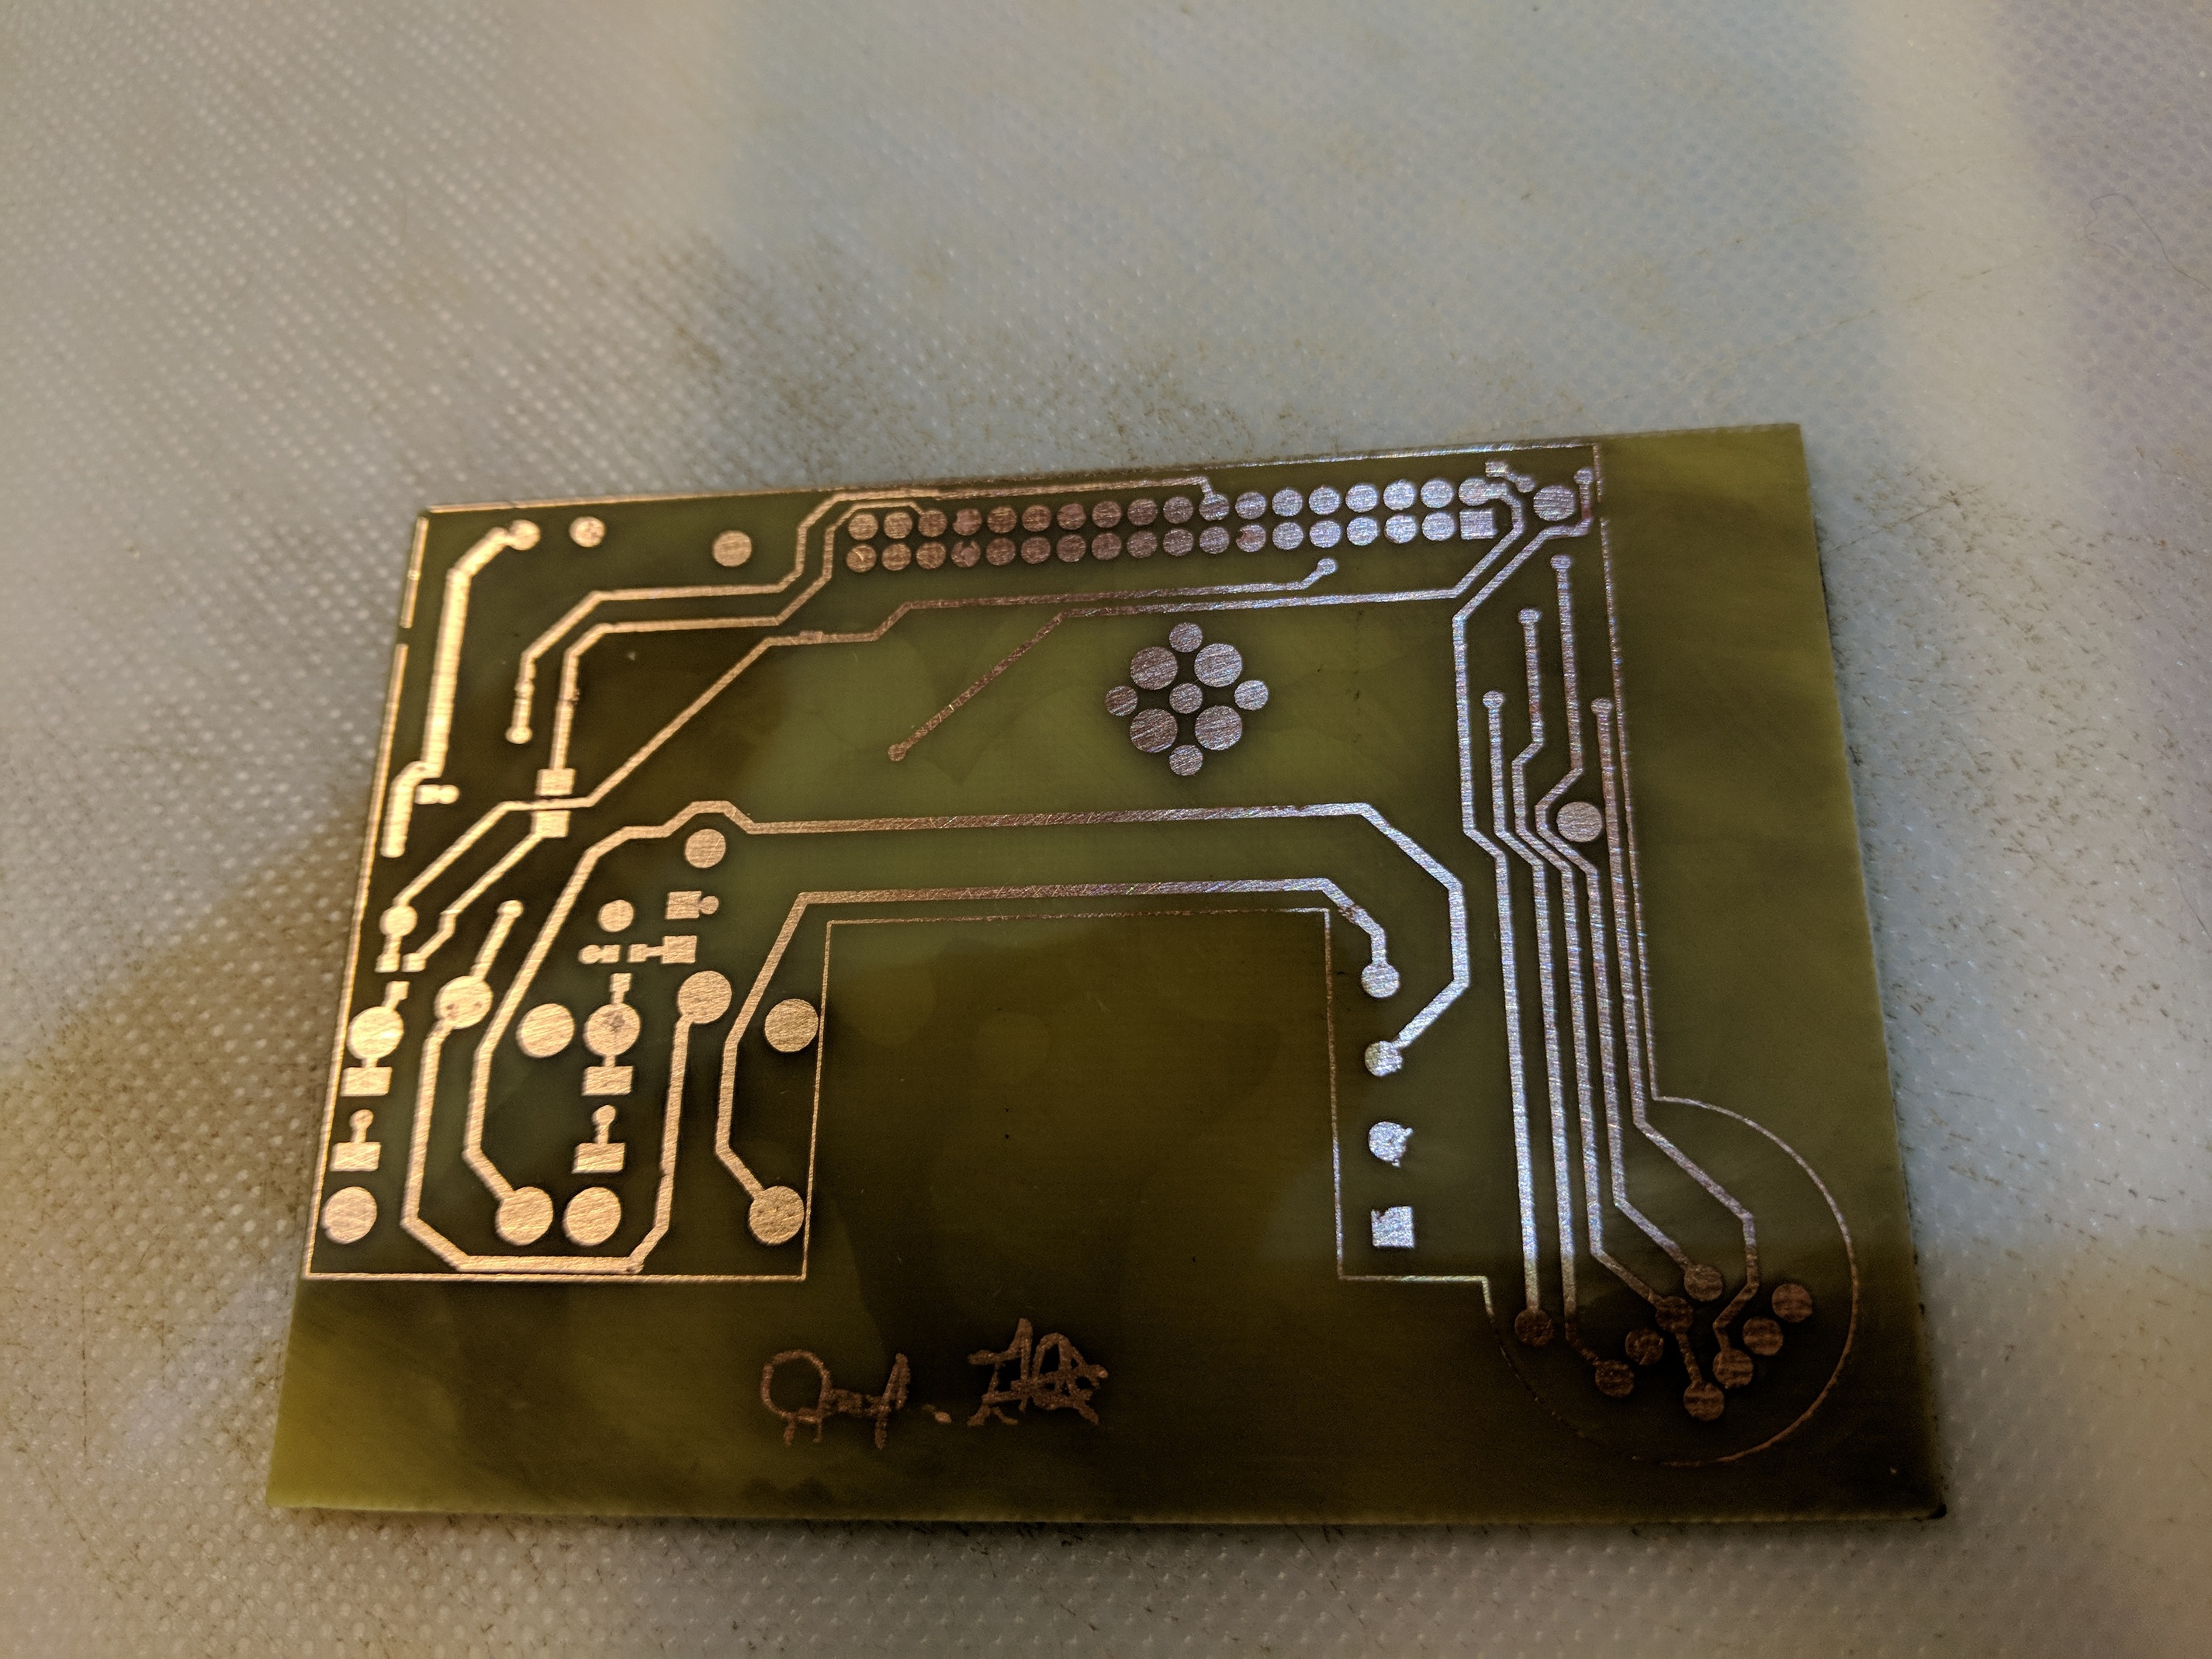
Cheers!
Joe