Hi,
Is there a way to install HestaPi manually? I have other things running on my Raspberry Pi 4 that I want to keep - including some stuff than interfaces with my weather station.
Hi,
Is there a way to install HestaPi manually? I have other things running on my Raspberry Pi 4 that I want to keep - including some stuff than interfaces with my weather station.
These instructions on the wiki should do the trick
Things may have change in the world of Pi since 14 Sep 2020 especially if you are on a Pi 4. Please document back here any differences you may find (although some may be due to the Pi 4 and not Zero W)
I’m also working on a raspberry pi emulation system so it’s quick and easy to reset things back to a stock image and re-run automated deployment scripts.
My goal is to have a script that will take a stock raspberry pi that is running raspbian and make it into a HestiaPi. I want it so I can then produce my own image that I can flash onto future raspberry pi units, but I think it’d also meet your needs.
I plan to start with jessie since that’s where everything lies now, and once that is done it’ll be on to buster and then bullseye.
I have my code at a stable point for building stock raspberry pi images and booting them in qemu.
Currently I have support for stretch and buster:
If anyone knows where I can find a kernel, prb, and image for Jessie, I’d be willing to add support for it.
I do have a script that I started that will do the HestiaPi setup (installing & configuring packages), but it is incomplete on account of me not having the jessie image. The script just took the commands from the wiki, so no sense in trying to use that at this point.
The buster image would be a good thing to leverage for installing on buster though.
Top link of the wiki?
(remove the _lite in two places of the url and you get both the jessie and jessie lite download)
Thank you. I’ve added support for jessie and am now trying to get scripts together to take a normal rPi and make it i into a HestiaPi. Will let you know how it goes. 
As you may have guessed, the install has not been going well. I’m following the steps for manual installation, but I’m running into dependency problems.
sudo apt-get install -y apt-transport-https bc dnsmasq hostapd vim python3-flask python3-requests git dirmngr accountsservice build-essential python quilt devscripts python-setuptools python3 libssl-dev cmake libc-ares-dev uuid-dev daemon zip zlibc zlib1g zlib1g-dev python-smbus unclutter matchbox-window-manager xwit xinit openbox lxterminal geoclue-2.0 libjavascriptcoregtk-3.0-0=2.4.9-1~deb8u1+rpi1 libwebkitgtk-3.0-0=2.4.9-1~deb8u1+rpi1
Some packages could not be installed. This may mean that you have
requested an impossible situation or if you are using the unstable
distribution that some required packages have not yet been created
or been moved out of Incoming.
The following information may help to resolve the situation:The following packages have unmet dependencies:
hostapd : Depends: libnl-route-3-200 (>= 3.2.7) but it is not going to be installed
libwebkitgtk-3.0-0 : Depends: libegl1-mesa (>= 7.8.1) but it is not going to be installed or
libegl1-x11
Depends: libgtk-3-0 (>= 3.10.0) but it is not going to be installed
python3-flask : Depends: python3-jinja2 but it is not going to be installed
uuid-dev : Depends: libuuid1 (= 2.25.2-6) but 2.29.2-1+deb9u1 is to be installed
vim : Depends: vim-common (= 2:7.4.488-7+deb8u4) but 2:8.0.0197-4+deb9u1 is to be installed
E: Unable to correct problems, you have held broken packages.
I’ll keep playing around with specifying different packages (explicitly calling out dependencies, versions, etc.) and see if I can get it sorted out. If so, I can make the changes on the wiki so the documentation is up to date. If I can get automation to build the entire image, I can contribute that to the git repo as well.
I believe I’ve sorted out the dependency issues now. For posterity, here’s what I’m currently doing:
sudo apt-get install -y apt-transport-https bc git accountsservice libssl-dev build-essential quilt devscripts cmake libc-ares-dev daemon zip zlibc zlib1g zlib1g-dev unclutter matchbox-window-manager xwit xinit openbox lxterminal geoclue-2.0 libjavascriptcoregtk-3.0-0

# packages that require specific dependencies
sudo apt-get install -y dnsmasq=2.72-3+deb8u5
sudo apt-get install -y --allow-downgrades hostapd libnl-route-3-200=3.2.24-2 libnl-3-200=3.2.24-2 libnl-genl-3-200=3.2.24-2
sudo apt-get install -y --allow-downgrades vim vim-common=2:7.4.488-7+deb8u4
# Note: python3-flask has dependencies that require Python < 3.5
# The default version of python3 for stretch is now 3.5.3-1, which means we need
# to downgrade to 3.4.  However, the default version of findutils
# (4.6.0+git+20161106-2), which also includes xargs, breaks libpython3.4-minimal
# This means we need to downgrade to findutils 4.4.2-9, which doesn't have this
# problem.
sudo apt-get install -y --allow-downgrades findutils=4.4.2-9
sudo apt-get install -y --allow-downgrades python3-flask python3-jinja2 python3-markupsafe python3-requests python python-setuptools python-smbus python3=3.4.2-2 python3.4 python3-minimal=3.4.2-2 libpython3-stdlib=3.4.2-2 python3.4-minimal=3.4.2-1+deb8u7 libpython3.4-stdlib=3.4.2-1+deb8u7 libpython3.4-minimal=3.4.2-1+deb8u7
sudo apt-get install -y --allow-downgrades uuid-dev libuuid1=2.25.2-6
sudo apt-get install -y libgtk-3-0=3.14.5-1+deb8u1
sudo apt-get install -y libwebkitgtk-3.0-0 libegl1-mesa=10.3.2-1+deb8u2
sudo apt-get install -y --no-install-recommends xserver-xorg xserver-xorg-core=2:1.16.4-1+deb8u2
sudo apt-get install -y --allow-downgrades dirmngr gnupg=1.4.18-7+deb8u5
Thank you for posting these back!
Is that a complete set of changes one should try? Are you comfortable with me updating the steps on the wiki with these?
Lets hold off on updating the documentation on the wiki for a little bit. I am putting some final touches on the script which automates all of this.
I accidentally got confused and got things working on jessie instead of stretch. Since it’s nearly done, I am going to wrap that up before porting it to stretch and then buster.
I now have a repeatable process for Stretch in a VM.
Now I just need to port this to Jessie, which is what I intended to target all along. Those are the commands that should go on the wiki (hopefully there will be less specifying particular versions of things).
After that, my hope is to do the same for Buster.
Wow! This is one huge step. Thank you for your contribution!
Will try to have a more thorough test over the weekend.
So let me get this straight… the steps are to install a Raspbian Lite (are both Buster and Stretch supported already?) on a VM and then follow your steps, right?
I don’t see a reason to port to something as old as Jessie even though it is currently the main distro used in HestiaPi.
I few points I should suggest:
Obviously these points are simply an overall direction I would like to move towards and may be different from what you have in mind but I thought I should mention them
Wow, I’m really having trouble with this whole Jessie vs Stretch thing.  Looking back at my own .gitlab-ci.yml file, I see that I set up Jessie (Debian 8). I intended to set up Stretch (Debian 9). I am confident I’m saying the right thing this time.
Currently, I support creating Raspbian images for Jessie, Stretch, and Buster. I only support setting them up as a HestiaPi in Jessie. Switching base images should be relatively straight forward, at least, as long as they’re Debian based.
Next we have the desire to be able to make an image that can be flashed onto a micro SD card. That was a big part of the original motivation for this effort (the other parts being setting up an environment for development and automated testing). I’m using format=raw in qemu, so I believe one should be able to dd this file onto an SD card and boot it. At this point, this is entirely untested, but image creation certainly is a design goal.
After my last post, I tried putting together a Stretch based build. This failed due to memory constraints. Specifically:
Processing triggers for man-db (2.7.6.1-2) ...
/usr/bin/mandb: fork failed: Cannot allocate memory
I added temporary added some extra swap space to deal with that.
I’m still making progress on this. I refactored the code and now have a hestiapi.sh script that can be run on a freshly set up Debian machine (tested with 8, currently testing with 9) to make it into a HestiaPi. This expects the initial setup to be done (namely: passwordless sudo access), but it should work on hardware just the same as it works on a VM. I still expect this to be used to produce an image that will be dded onto an SD card to make setup faster and easier, but it’s nice to have options.
I will push my updated code up once I’ve got everything debugged and tested with Debian 9 (and then re-tested with 8, since I’ve already made a change). Once I figure out what the differences are between these two versions, it should be much easier to extend it to cover other Debian-based distros.
The process takes about 6.5 hours on account of emulating a slow CPU (the arm1176), but it’s fully automated and built into a CI job, so once it’s done it shouldn’t be that bad. It’s just tedious to do this initial development work. It might be a week or two before I get this wrapped up.
Just to manage expectations, I half expect this to fail when flashed onto real hardware, specifically the turnkey scripts that set up an access point. That’s a thing I can’t test in the emulator (the hostapd service fails to start if there’s no wireless card). I can see that OpenHAB is up and running, so that does appear to be working as expected. If I can have this working end-to-end by the end of the year, I’ll be a happy camper. 
Keep it up! Your work will be very very useful and the base to upgrade to newer openHAB version!
A few more points I expect you to have trouble with when you move to hardware:
I was able to see the entire process complete in my build system. The code can be found here: Hestia Hacker / raspberrypi-automation · GitLab
Unfortunately, GitLab.com limits CI jobs to 3 hours for free, personal accounts, and these jobs take longer than that. It builds just fine on my private CI server, which doesn’t impose such a limit, but this means that the builds are not publicly available.
If there’s interest, we could apply to be part of their Open Source Program which would get us their top tier features. However, it’s not clear that it would actually raise the limit per job, it might just raise that total number of minutes per month. I can look into it further if it’s something we’d like to pursue.
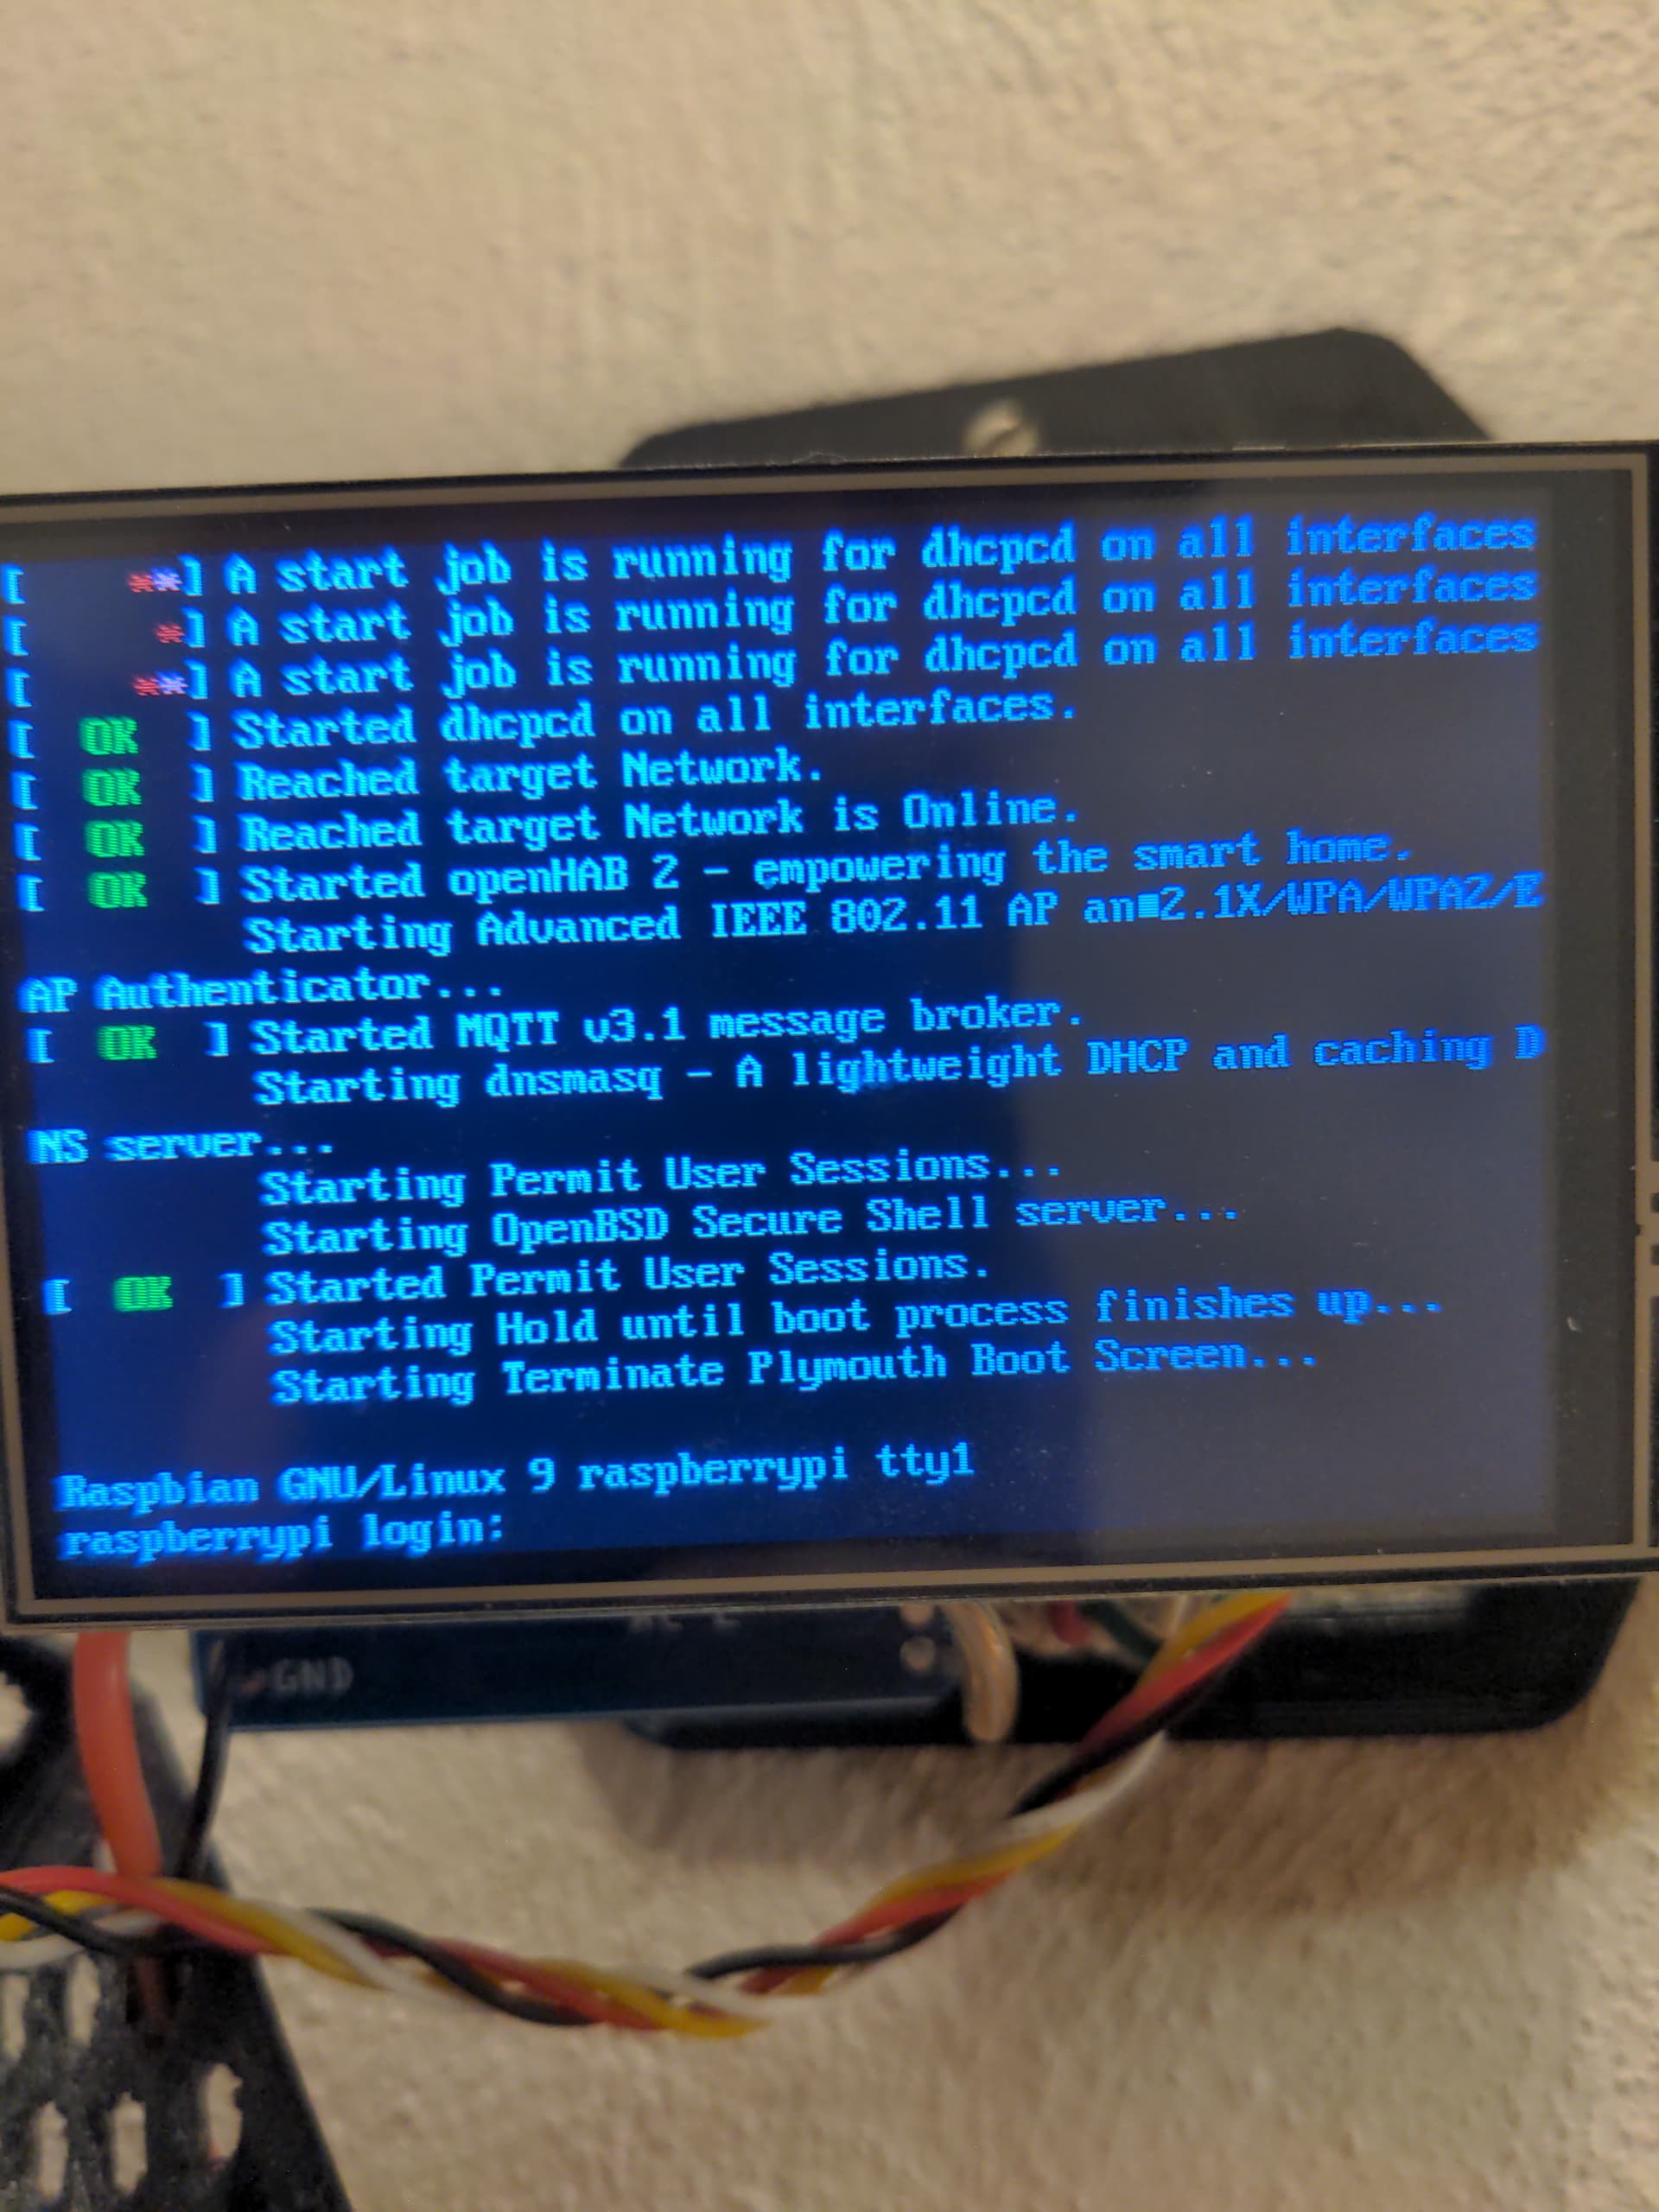
The moment of truth was when I actually tested it out the build on real hardware… It did boot, which I only half expected, and it looks like it started OpenHAB. Unfortunately, that’s the end of the good news. It didn’t do the turnkey things to fire up an Access Point and let me select my wifi network and enter my password, nor did it start the UI for the thermostat. Here’s a photo of it asking me to log in (I don’t have a keyboard attached and IIRC the USB port is covered up by the terminal block anyway).
I’m going to take a break for a bit and try to come back with another pi (I think I have some lying around somewhere) and a keyboard and screen to log in from a console and see if I can find out what went wrong. In the meantime, if anyone wants to look over the scripts in the repo above (specifically hestiapi.sh) and give me any pointers, I’d be grateful.
Needed video driver (fbturbo). Now I have X running and I get the AP & captive portal, then the thermostat UI, but it’s not getting any network
I am doing a fresh build to see if that’ll work if it works when I have all the packages installed on first boot.
OK, I have results from a fresh build. I forgot to make /etc/rc.local executable, so for this test, I just made that change after flashing it onto an SD card.
Here’s the current state:
That’s the good news. The bad news:
I then powered it down and put the SD card in a computer so I could look around. I am not entirely sure where I should be looking, but here is what I noticed.
/etc/wpa_supplicant/wpa_supplicant.conf did not have my network nor password in it/etc/dhcpcd.conf still had a static IP of 192.168.4.1/var/log/openhab2/openhab.log has lots of permission denied errors
/var/lib/openhab2/etc/*
/var/lib/openhab2 is owned by uid=112, gid=115 (which maps to openhab:openhab in the passwd and group files on the SD card)Any ideas on why the network settings didn’t take hold? Or where I woukd look to answer that question? If I can get this build onto the network, the rest of the troubleshooting should be much easier.
The turnkey script should force a reboot once you enter your WiFi details. I remember I had to modify it to work on our distro. I assume the script’s integration with the native binaries it uses is broken. Maybe they use different parameters or return different values. I would suggest you look into this first.
Happy to help here. Please get in touch with them and if it will give you what you need, we’ll back you up with what they ask for verification.