I’d been looking at the Hestia Pi for quite some time but I just recently got around to trying it because my use case is a bit different than the project as it is. Basically I have a flush mounted in-wall digital thermostat and I’ve never been able to find anything to replace it. This particular thermostat is defective, I replaced it twice because it has a “touch screen” that just stops responding making it hard to use and I’m pretty sure it hasn’t actually been available for a number of years.
Since I don’t want to patch the hole in the wall and the one thing I actually like about it is that it is flush, I redesigned the HestiaPi to fit inside it’s mounting bracket. While I was at it I changed the power supply module for a rectifier/switching regulator and changed the relays out to opto-mosfets. This is basically a 5-40v AC/DC only setup.
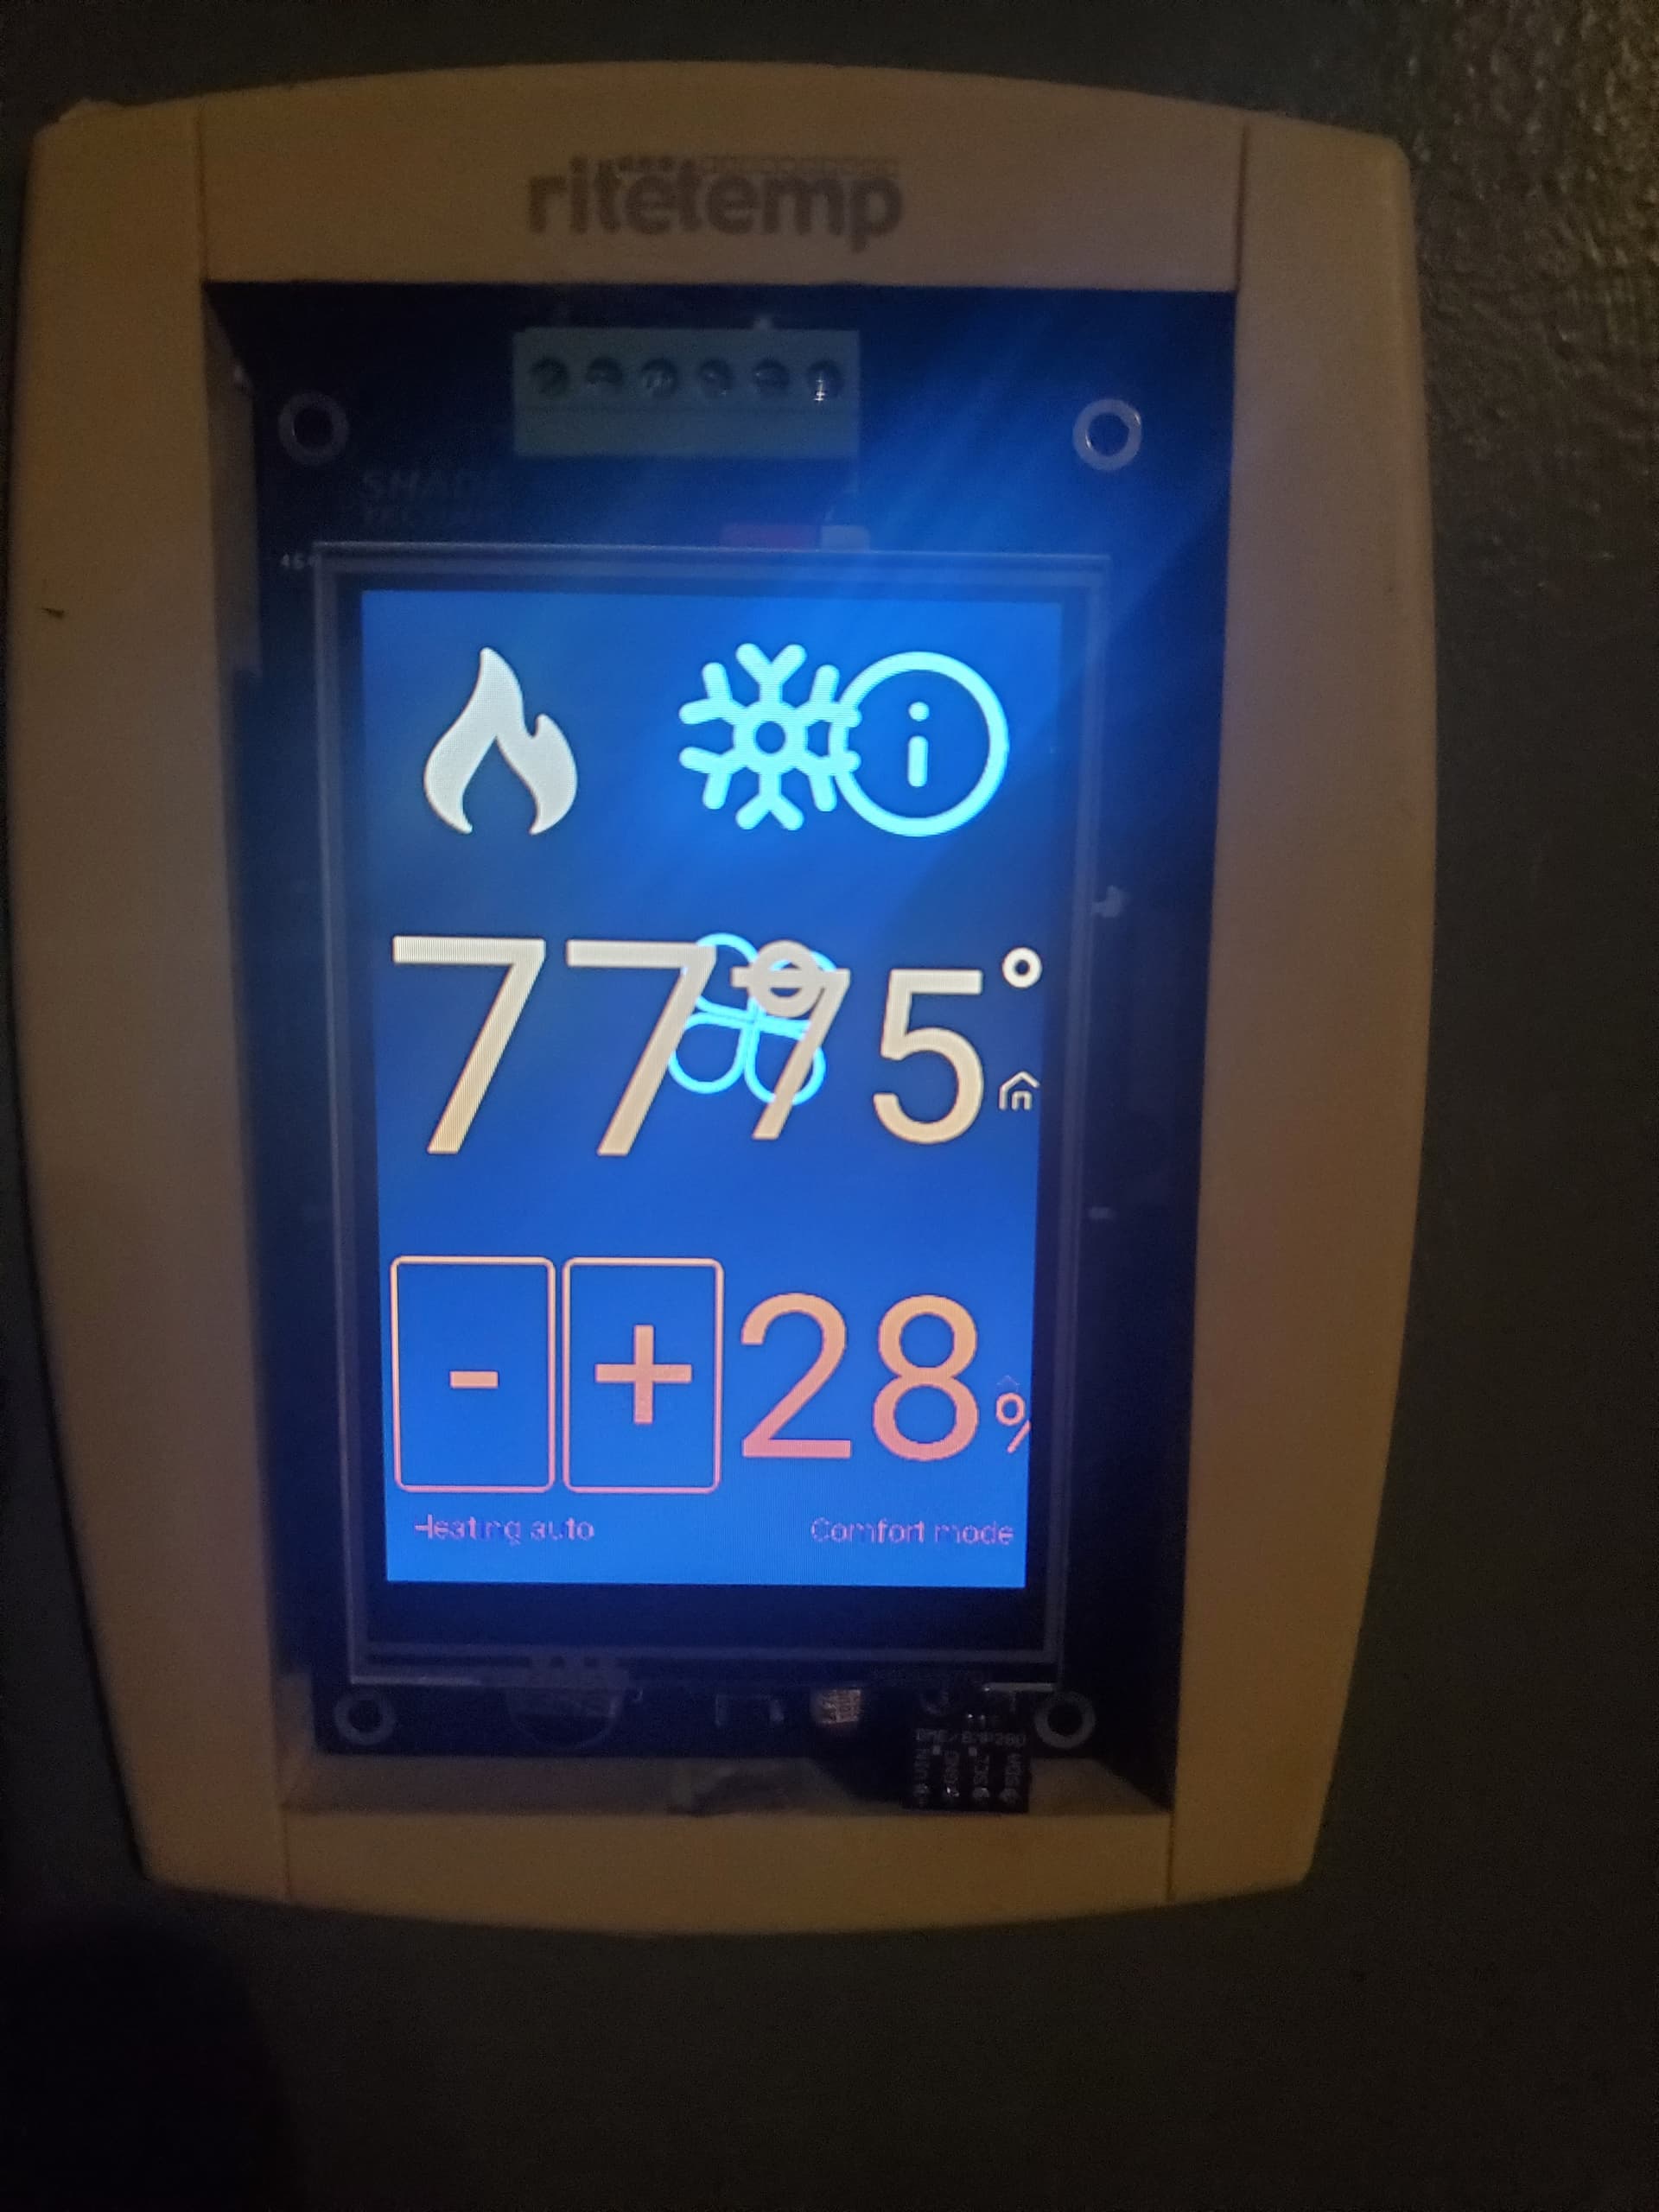
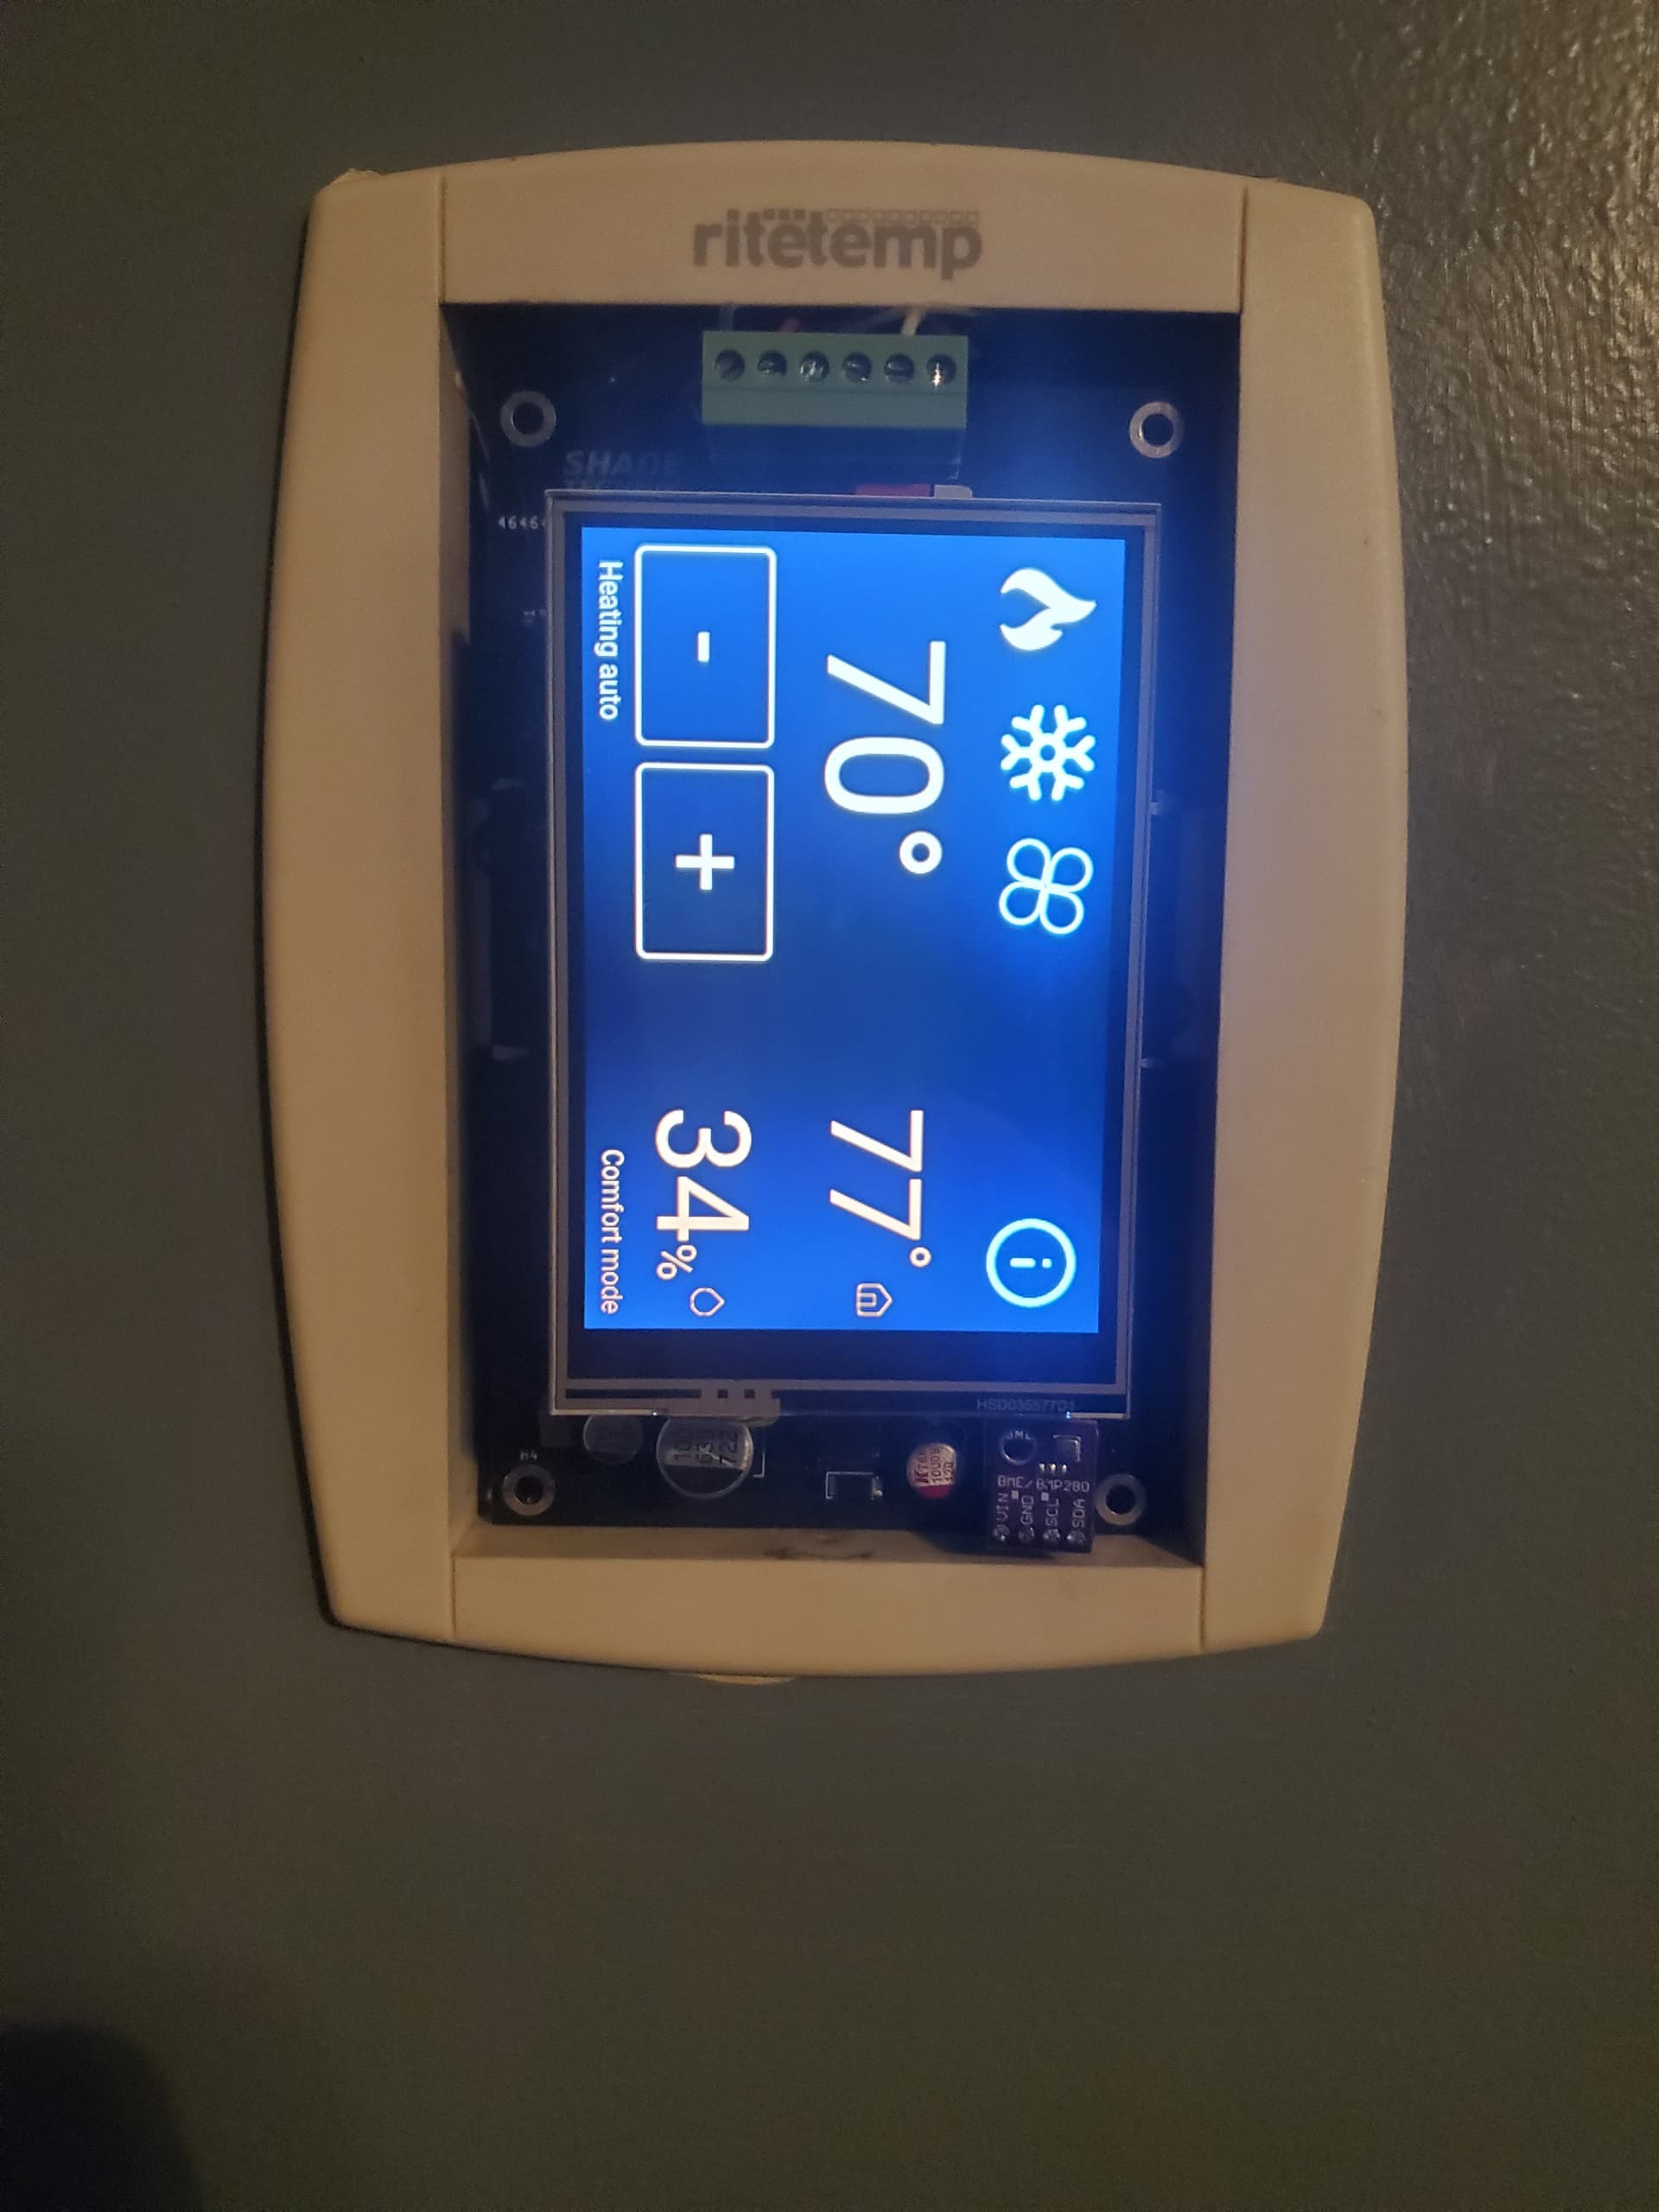
Anyway, I fired it up for the first time and it works as expected (so far). It’s been so long since I actually looked at the original HestiaPi that I didn’t realize the UI was landscape and not portrait so that’s a bit of an issue. I was wondering how the UI is built and if it’s reasonable to rotate the everything so it works in portrait mode. I’m not terribly worried about the OS but if it’s not too much trouble I wouldn’t mind rotating that as well.
Wow, this sounds like a very cool retrofit! It is possible to rotate the display with rotate.sh 90 using the script found in this repo: https://github.com/goodtft/LCD-show.git
I can’t say that I’ve tried to use the HestiaPi UI in that orientation, but I have rotated it when I was trying to automate the HestiaPi setup, so I can at least attest that the script works.
My changes worked, but they were to work around a problem that we ultimately found another workaround for. Anyway, point being that making changes is possible if necessary.
The UI is kinda hardcoded… I mean it is designed to work well for that screen per pixel level as it is a very tight area to fit all that functionality. You would also need to “rotate” the touchscreen registers which is fairly easy.
Having said that I believe the hardest part would be to handle the heat dissipation is confined area such the one you describe. Maybe the reason why your device died, the company stopped making it and most commercial thermostats do not follow that approach has something to do this this issue too. Maybe it is just harder to install and therefore less market… I would suggest try to install with as little air flow outwards as possible and use it actively for a week or two and report any “weird” behaviour. Probably lock-ups or similar. Feel free to share some photos of the inside and the outside to help us understand better the situation
Thanks for the info. The LCD-show scripts are in the home directory and running the rotate.sh 90 did the trick…for the OS lol. The UI is pretty ugly as I suspected it would be. I looked at editing it from the Git link I got all the yarn and node stuff but I have no idea how to actually edit the UI.
Well actually the old thermostats did not “die”. They are those single color LCDs but they have a “touchscreen”. The touchscreen stopped responding on both. Heat is not a concern, like at all. The inside of a wall cavity is much cooler than the room itself all year round. If something like that did become an issue it wouldn’t be a problem to handle. I suspect you’re probably right about the reason it’s not a terribly popular option is because of the installation but realistically it’s a 15 minute job and it’s not really a concern for me since it’s already there. The beauty of making something yourself is if it breaks…you just make another one. I only used 1 of the 10 PCBs I ordered so I’m set there.
With this, I just need to figure out if I can straighten up the UI. You see I posted this about a week ago and that’s about how long I’ve had it running. It’s just sort of sitting in there for now so the temp sensor is partially blocked and does get thrown off by the heat of the Pi since it’s slightly under the LCD. That’ll be sorted out when I attache it to the cover when I make one if I decide to keep it. That’s all little stuff, the only things that concern me are things that involve code and these development toolkits I’m unfamiliar with.
Yeah, I had that same problem when I went to make changes. Once I figured out how to re-generate the HTML/CSS/JS files, it was a many hours of trial and error.
The file you probably want to start with editing is the home-screen.vue. I see there’s a size for the icons here:
And below that is the icon-cool, icon-fan, icon-humidity, and so forth. In addition to the sizes that are defined up there, is also formatting information in the CSS at the bottom of that same file. E.g.:
I’d suggest making a backup of that folder before you start making experimental changes. If things get out of control, that’ll let you get back to a usable thermostat a lot faster than re-flashing the entire SD card.
UI is not my thing but I assume the % format in the CSS would be referring to the other dimension (width as in height now) so go with absolute values in pixels or something like that.
We’ve had lots of issues till we finalised the design of the current case regarding heat dissipation. If the Pi and screen’s heat doesn’t kill it, they will mess up the temperature sensor’s readings, unless you wire it outside or hack it to make it remote/wireless.
I’m not really worried about the temp sensor right now. It’s all just prototype stuff sitting in the housing right now. The pi is attached to a socket so I can remove it so it’s sitting right under the LCD. Once I figure out heights I might actually solder the Pi to the back of the PCB and the temp sensor will sit in it’s own little compartment in the cover walled off from the rest of it. Even the temp sensor is sitting in a pin socket right now, nothings actually where it needs to go.
Hestia_hacker’s suggestions pointed me in the right direction to modify the UI, I was able to build it with mods on the PC then sftp it into the Pi. Unfortunately it’s like shooting blind, some of the icons have names that I can’t figure out what they correspond to and it’s hard to tell what sits inside a container. I’m not really sure what the workflow is like with a GUI like this, it’s not like something done in QT designer (I wish lol). I’ve designed UIs for machine control in Designer and Glade but this is a different beast. It seems alot harder to do something much simpler.
Any chance the Hestia devs will make a portrait UI? Maybe someone using the retail Hestia would prefer it, there’s plenty of space on the LCD to do it. I just don’t have enough knowledge of that setup to make it work right.
Some things actually look pretty good as is. The OS stuff looks fine, the info screen looks good, the “auto” popups look good. It’s really just the main UI that needs work.
The best person to ask would be the main contributor of the UI repo, jaythomas Jay Thomas . The fact that this never came up possibly means that not many people want it though.